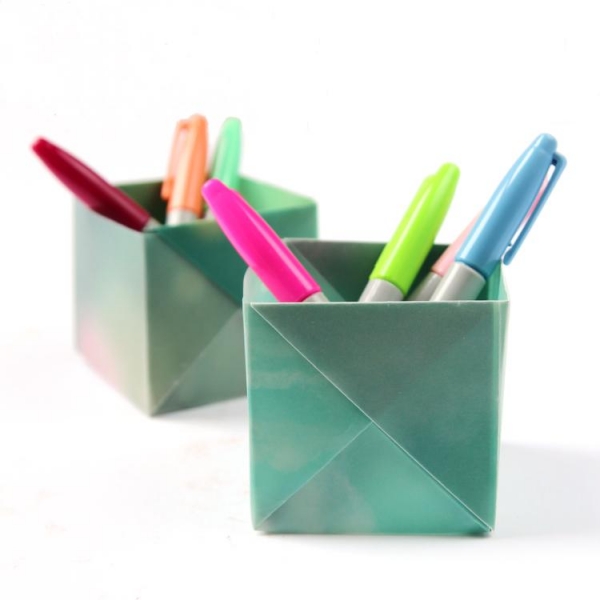
If you do not like the usual plastic or metal organizers for office and want to decorate your table with something bright and unusual, do the same to the organiser to hold pens and pencils from colored paper. In this article we will show you how to make an organizer for office origami.
Instructions for making organizer
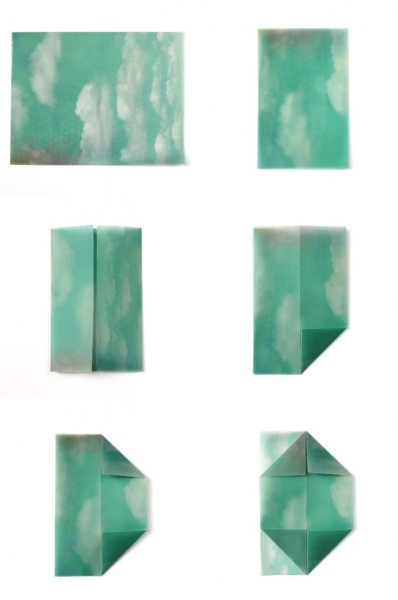
Prepare a sheet of colored or wrapping paper of A4 format (size and aspect ratio can be arbitrary).
Fold in half and then open it back up.
Fold the sheet so that the side edges was found near the intended center line.
Again unfold the sheet and fold it along the Central line.
Position the sheet so that the bend was located on the right. Fold the bottom right corner towards the center line. Do the same with the top right corner.

The left fold to the center line corners only the top layer of paper.
Fold the bottom part of the die up, straighten, and do the same with the upper part.
Flip the workpiece is flattened corners down so that it resembled a house.
Fold the top of the Soi the bottom of the workpiece upward. Smooth out the fold line.
Pull the top layer of the resulting pockets from myself. In the end you’ll have a rear and two side walls of the organizer. If you need to, again flatten the fold lines.
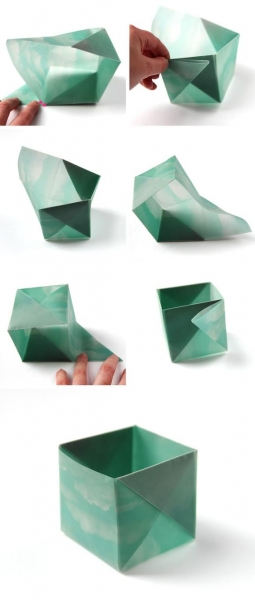
Two of speakers corner fold it diagonally. The result of these manipulations the points marked in the photo must meet.
You get two free triangular valve.
Fill the valve pockets on the side walls of the box.
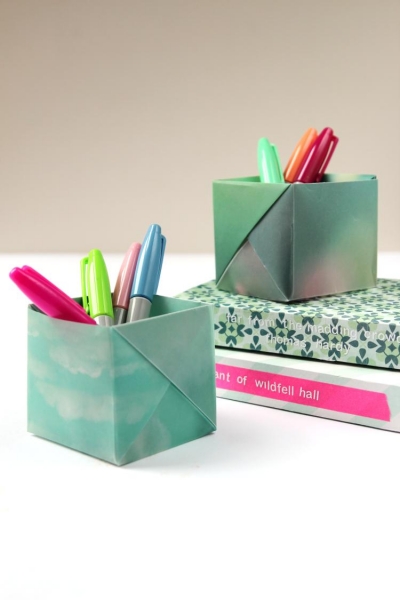
Stylish paper organizer for the office ready. These boxes can be used not only for storing stationery, but also for buttons, beads, thread, jewelry and other things.