In this master class, a Creative Workshop “barabashka” offers you to create fun about a robot from the metal fittings of water pipes. Quite unexpectedly? That’s not all. Our robot is still light! Let’s face it.
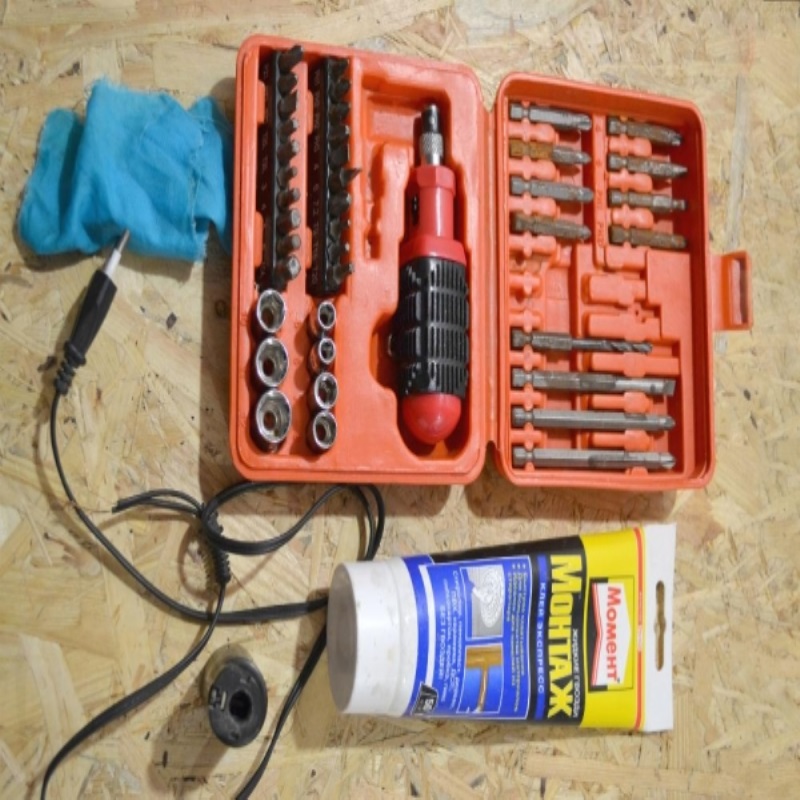
To create a robot-lamp we need:
- Brass fittings ½ and ¾ inch
- Cartridge for bulb E14
- Incandescent lamp E14
- Cable electric
- Euro-plug
- A hand-held drill
- Screwdriver
- Glue “liquid nails”
The manufacturer of the lamp with your hands
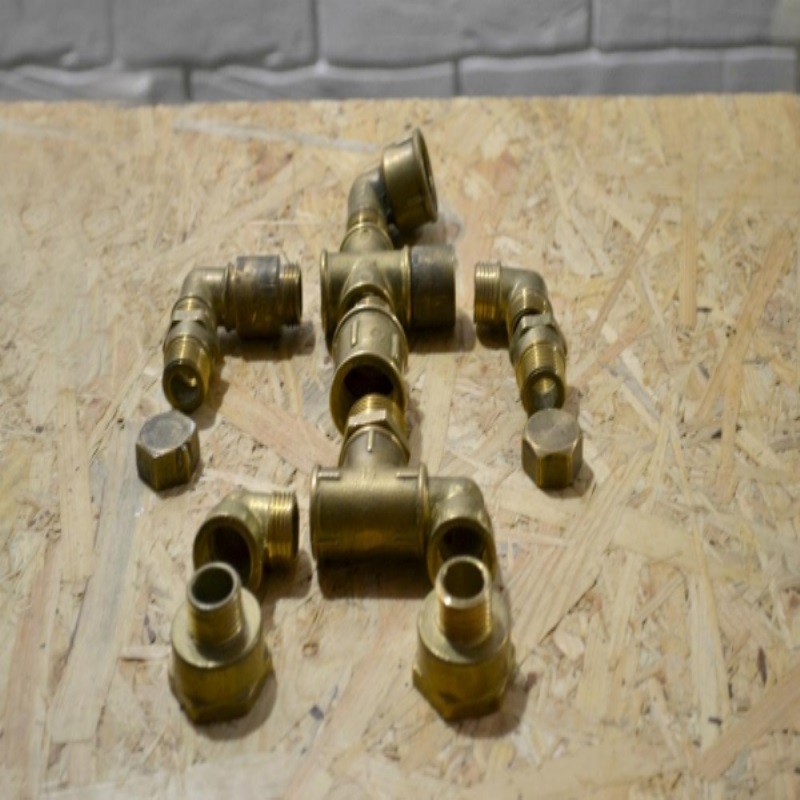
Collect all your home metal fittings for water pipes.
Fittings suitable for water pipes of ½ inch, different adapters for¾, angles, tees etc. you Can use iron or brass fittings, but the iron will have pre-painted in any color. I used brass fittings.
Tip: to use better fittings of the same material.
First, lay the components on a flat surface, to understand in advance where will be the legs, and where the robot arm.
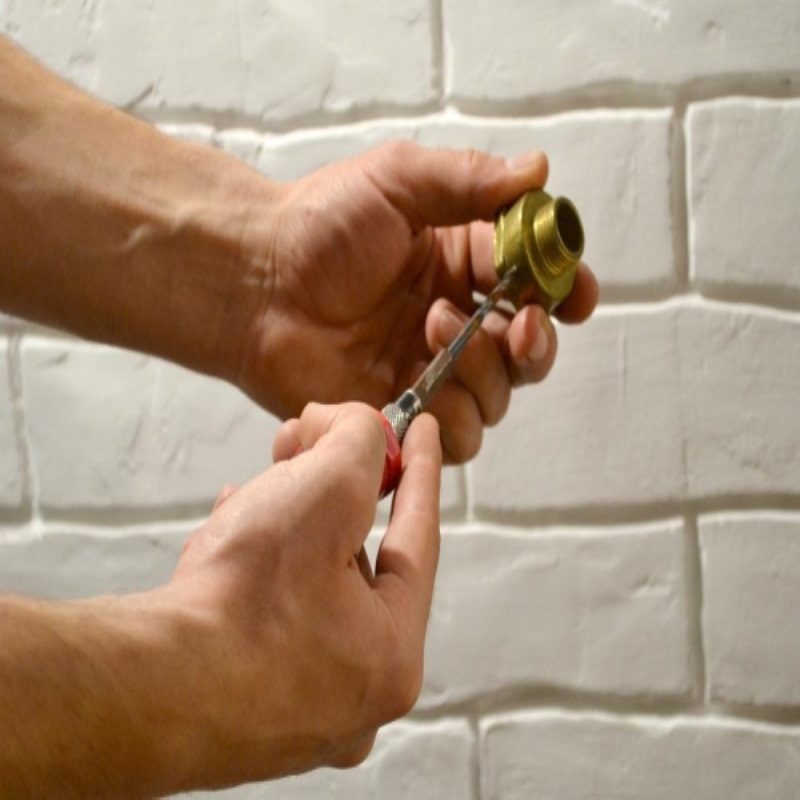
Once you have managed to determine what will be the legs of the robot, one “leg” you need to drill a hole for electric cable.
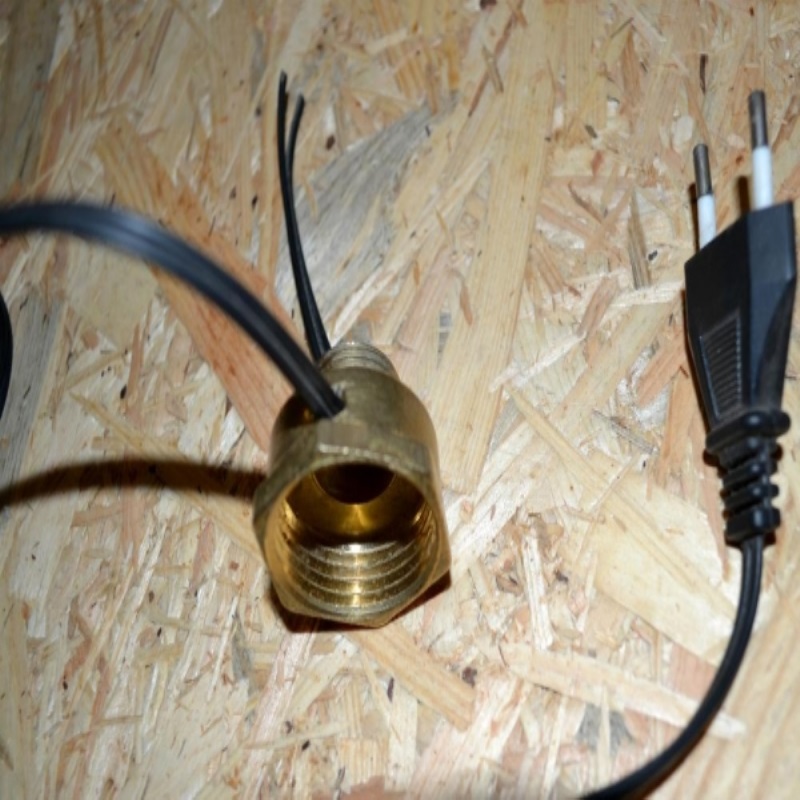
This can be useful a hand-held drill (unless, of course, at hand is nothing more serious). If you opted for brass components, making hole will not be difficult if the iron will sweat.
Tip: the electrical cable is better to take a small section.
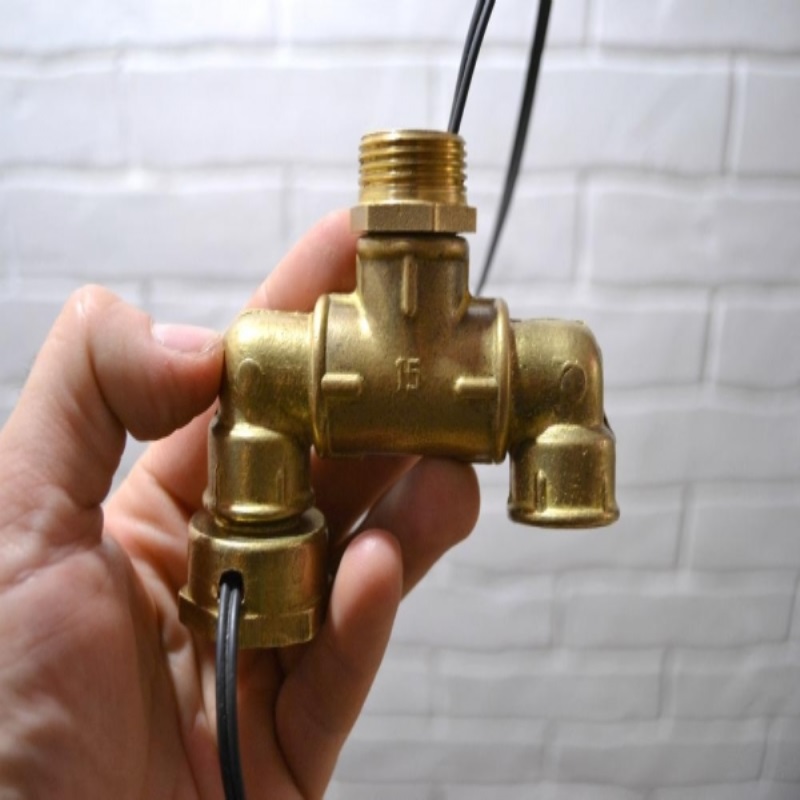
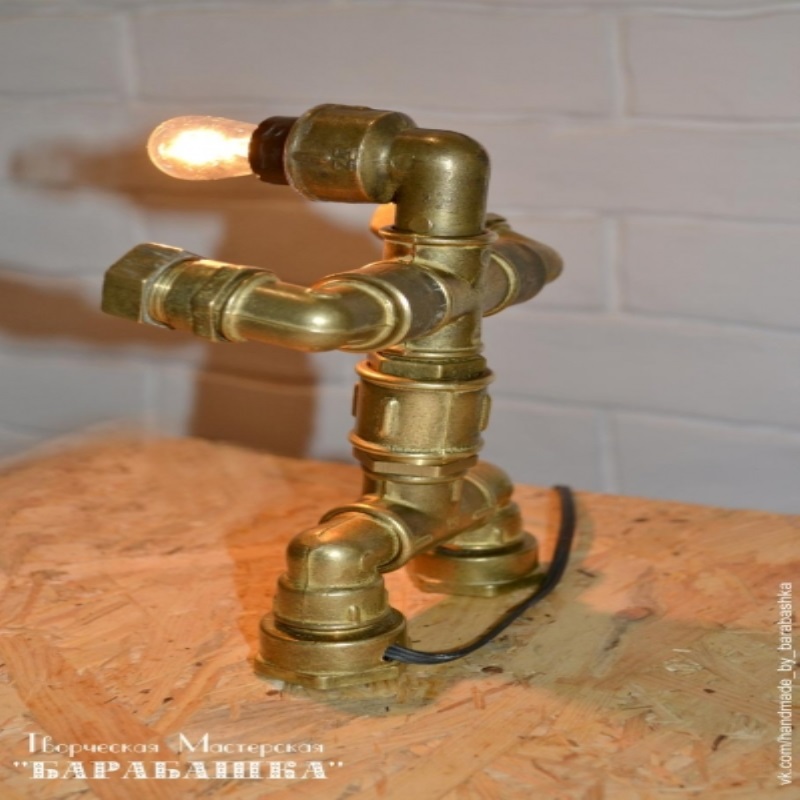
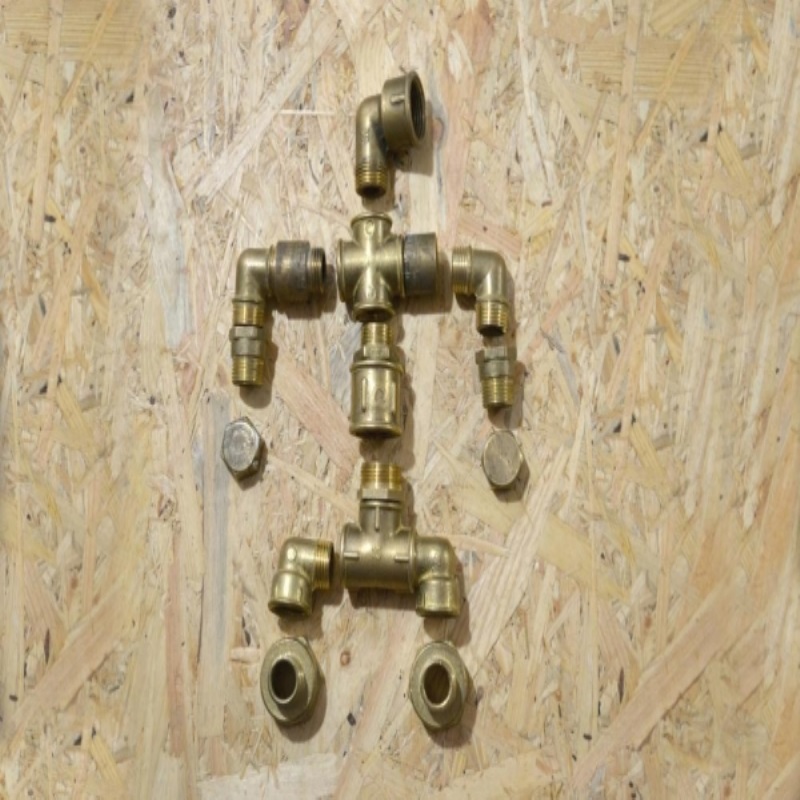
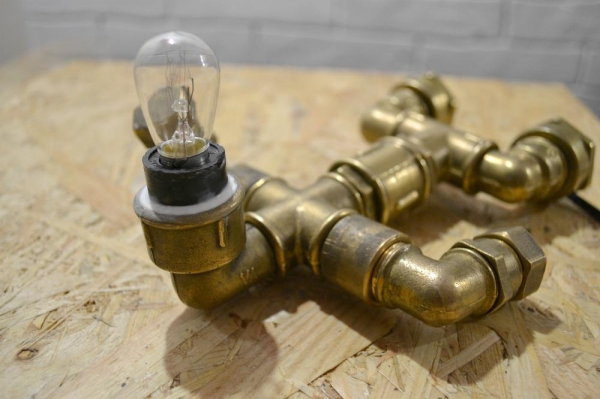
Noise the electrical cable through the hole and begin to assemble the robot.
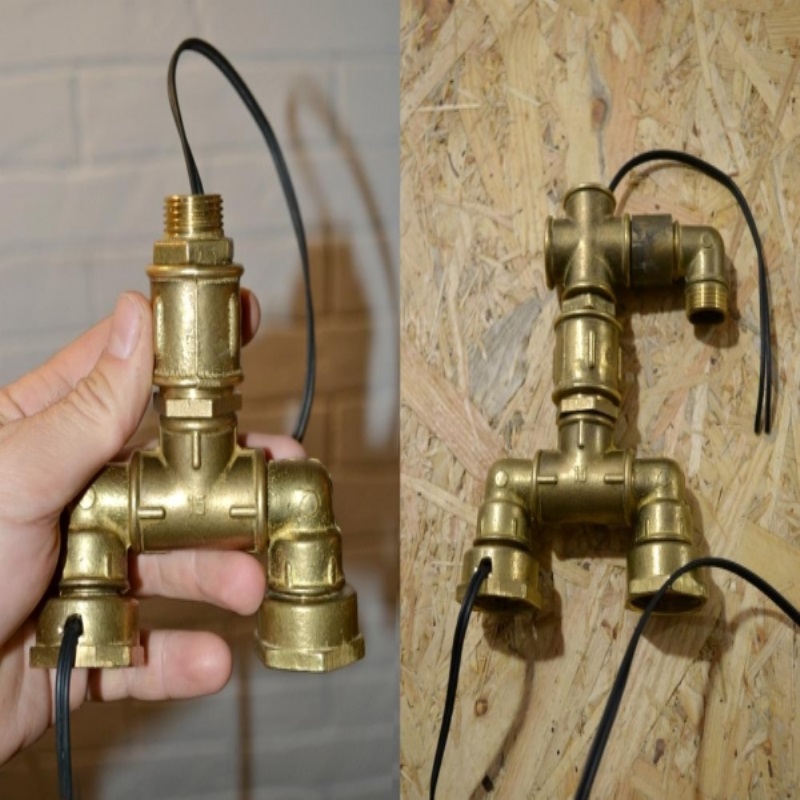
In the end, the end of the cable needs to go to the “head robot”. For fixing the components in position, you can use any PREROLL for water pipes.
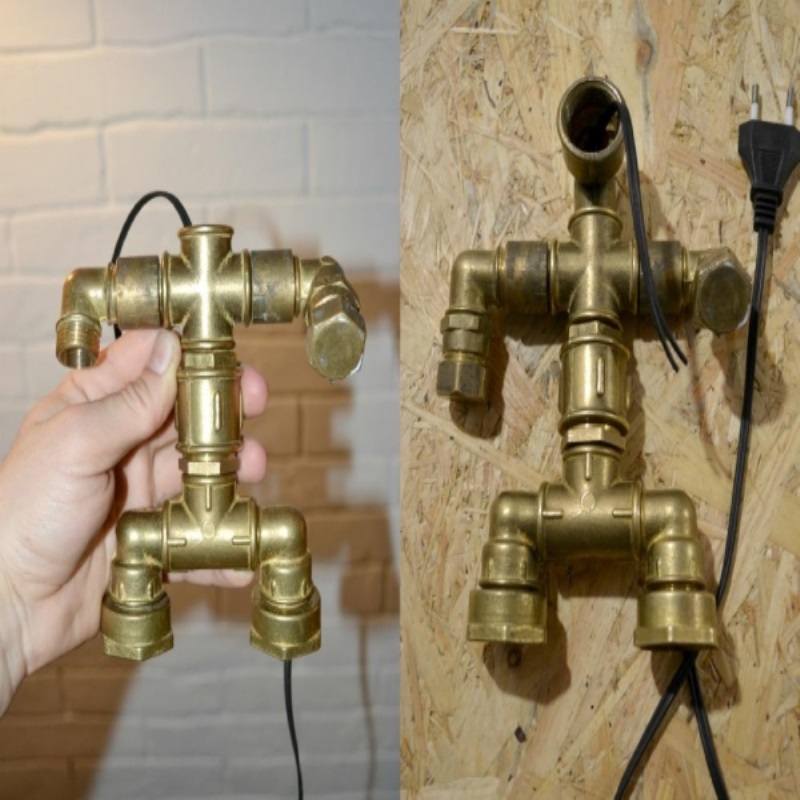
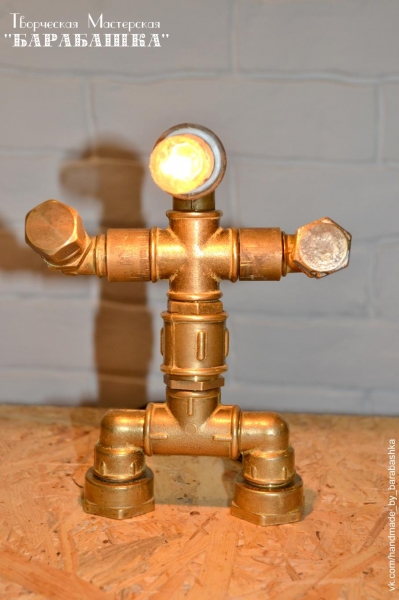
Twist the fittings necessary so that the robot was stable. To do this, place the heavier components of the “below the belt”.
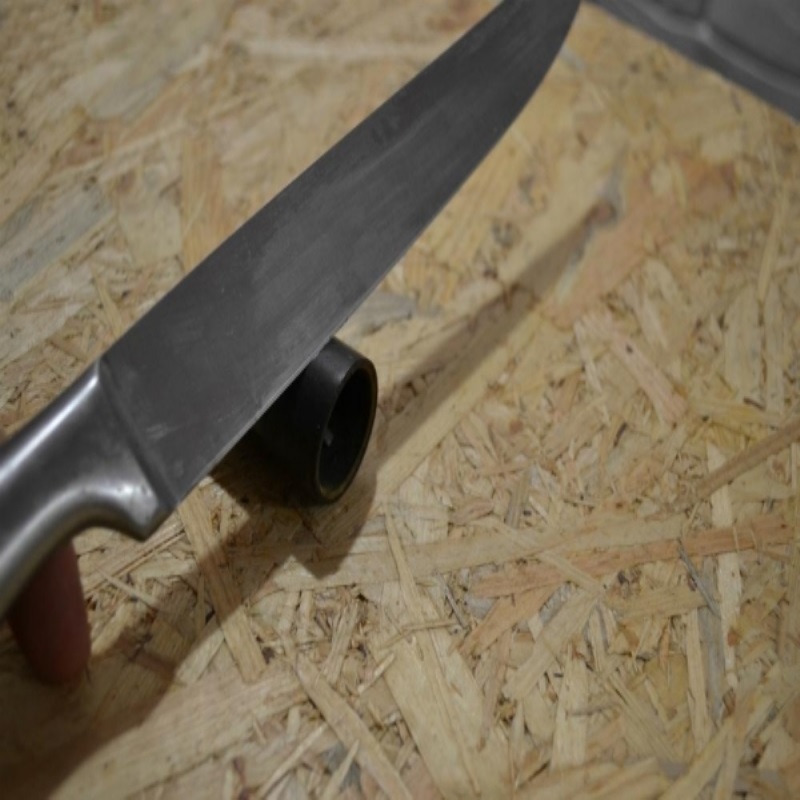
Now we need to prepare a cartridge for electric lamps E14.
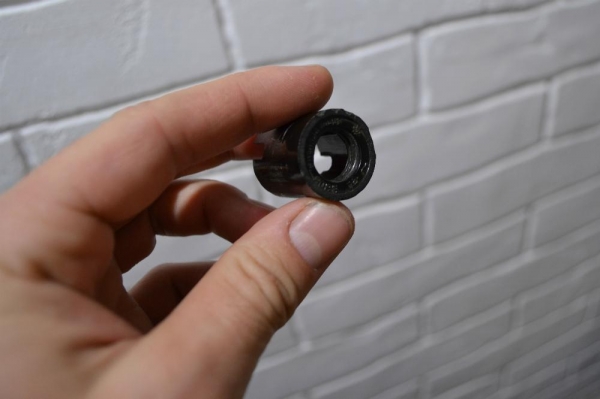
Using a normal kitchen knife (you can use a hacksaw) I slightly shortened the cartridge, so that it was recorded in the “head” of the robot.
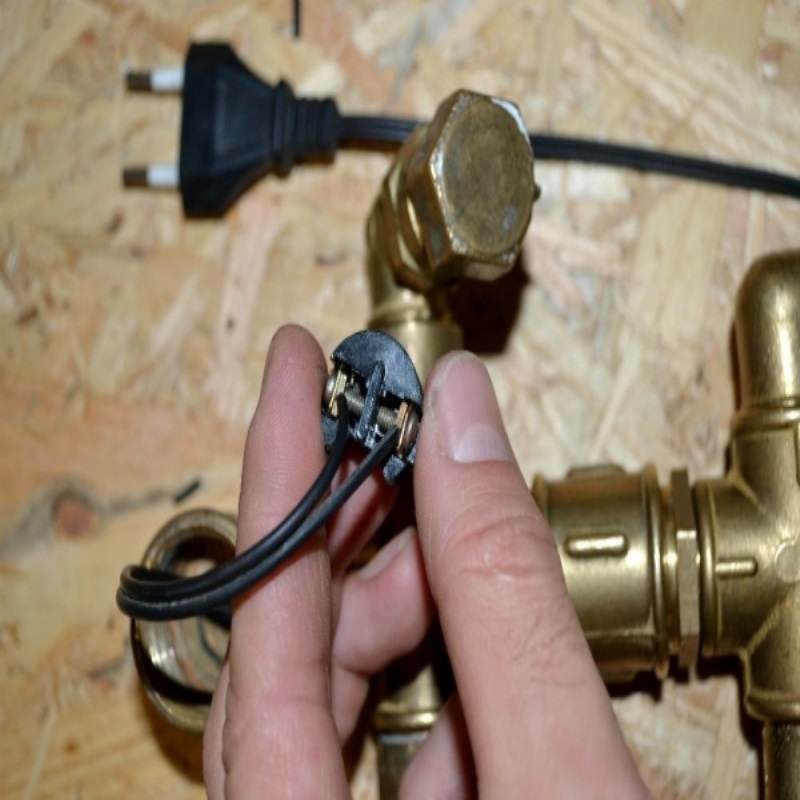
Now connect the cartridge to the electrical cable.
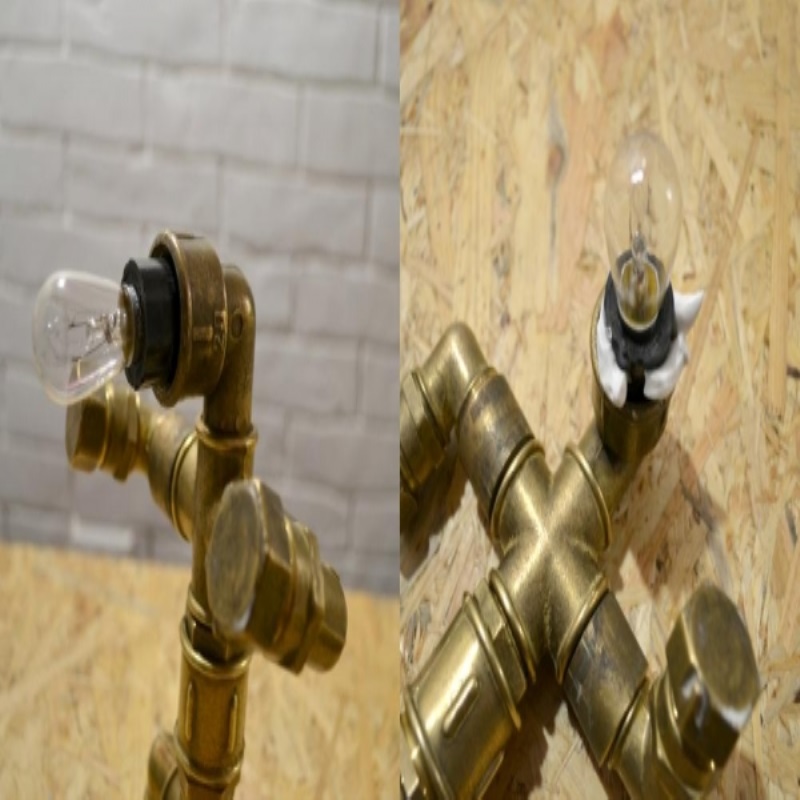
And now, in the course of going glue “liquid nails”. So we are going to fix the cartridge. The glue should be applied gently around the circumference of the cartridge, and then the finger to remove excess glue and razravnyat the joint between the cartridge and the fitting.
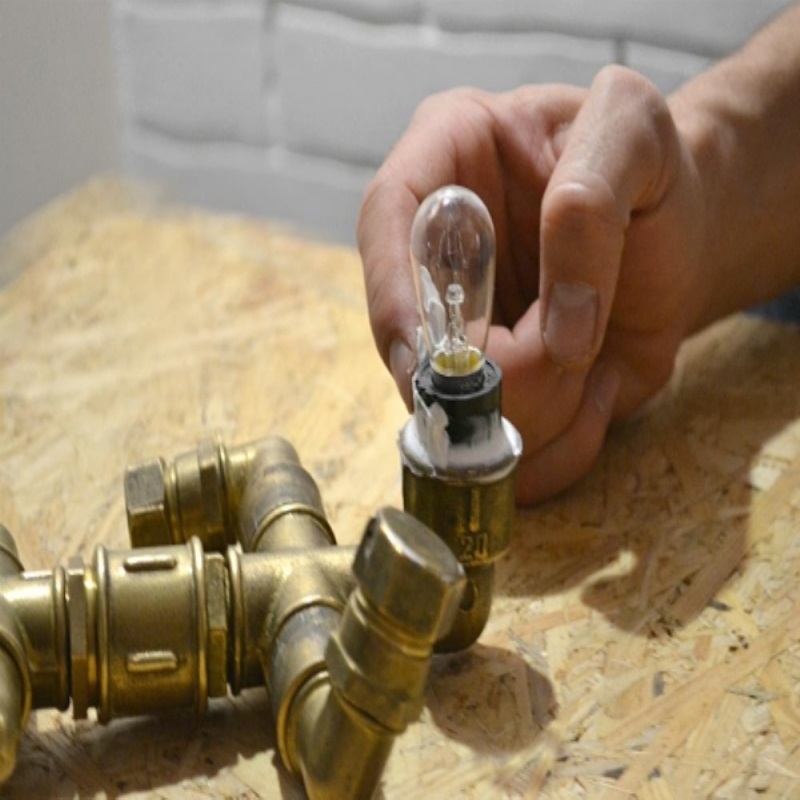
Tip: prepare in advance a wet cloth, you do not mind then throw it away.
It is necessary that the glue has dried well, otherwise the cartridge together with a lamp under its own weight moves down.
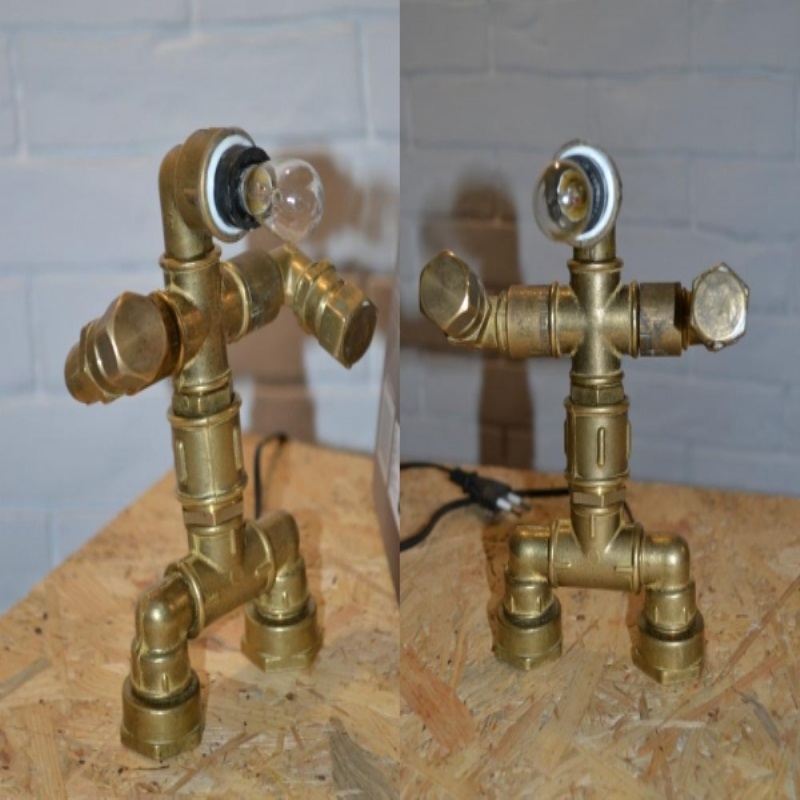
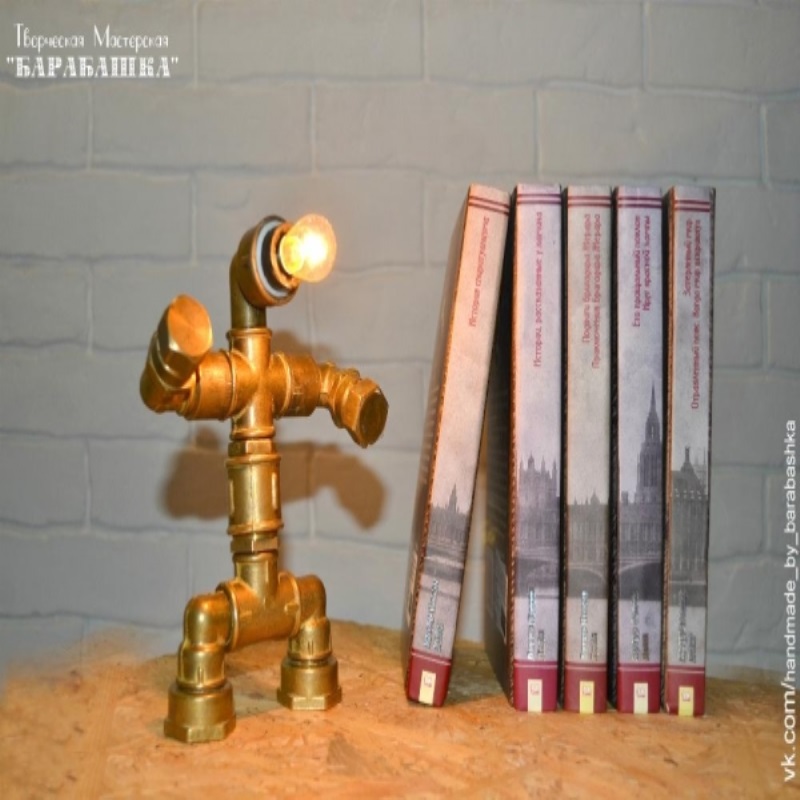
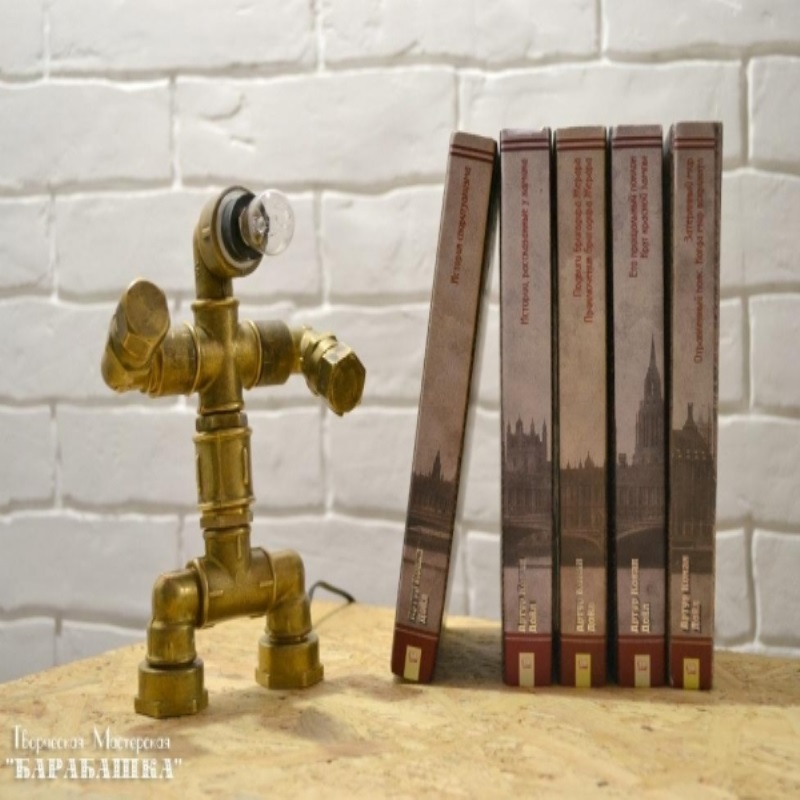
Here is our robot is ready!
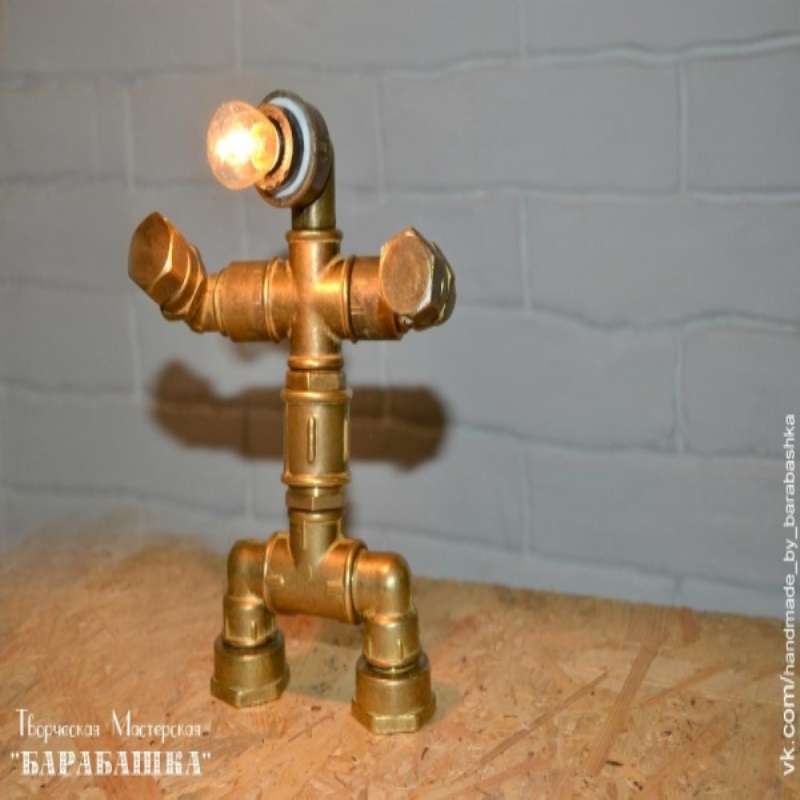
Now it’s not just the interior decoration and the novelty made from unexpected materials, and a functional lamp that will inspire you to spend the evening in company with a book.