Now comes the day, Peeps of spring sunshine, people start to smile more and dream. I want bright colors and rich colors, but summer is still far away.
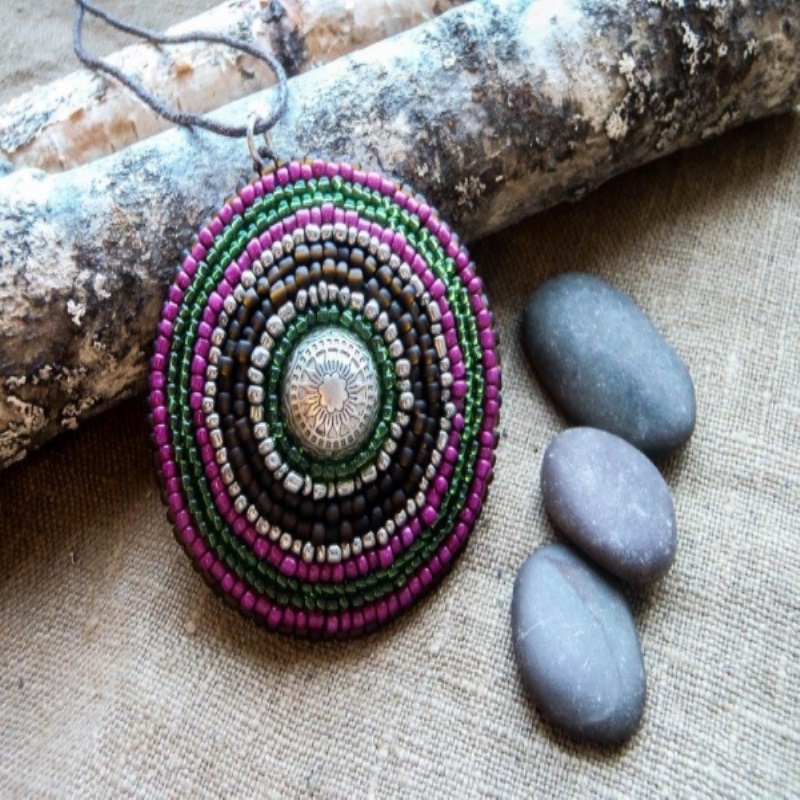
Well, you can do something cheerful and texture with your own hands! Suggest you try to create the pendant in the technique of beadwork that will allow you to experiment with combinations of color.
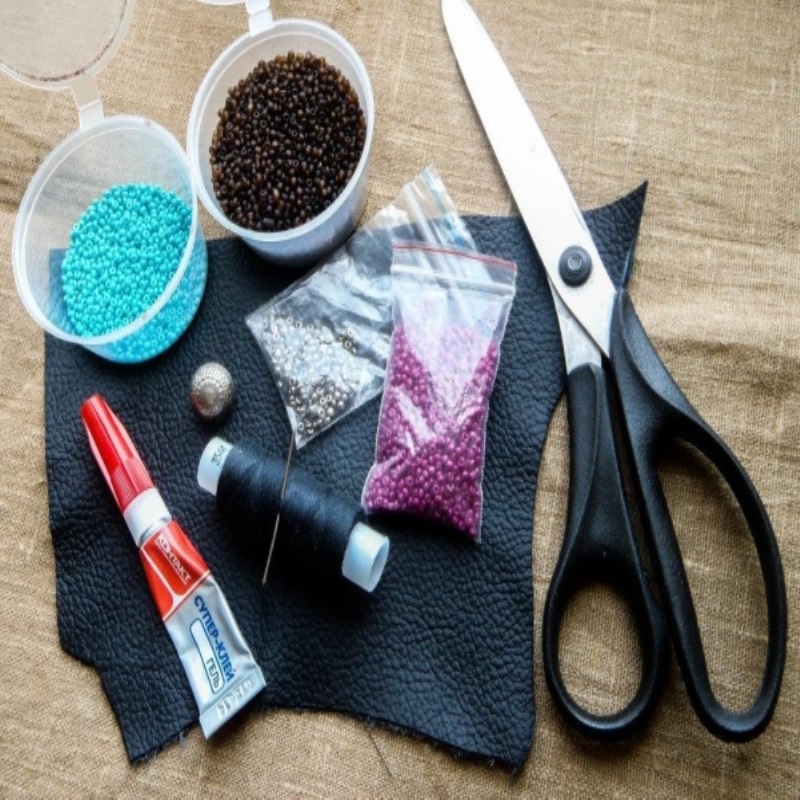
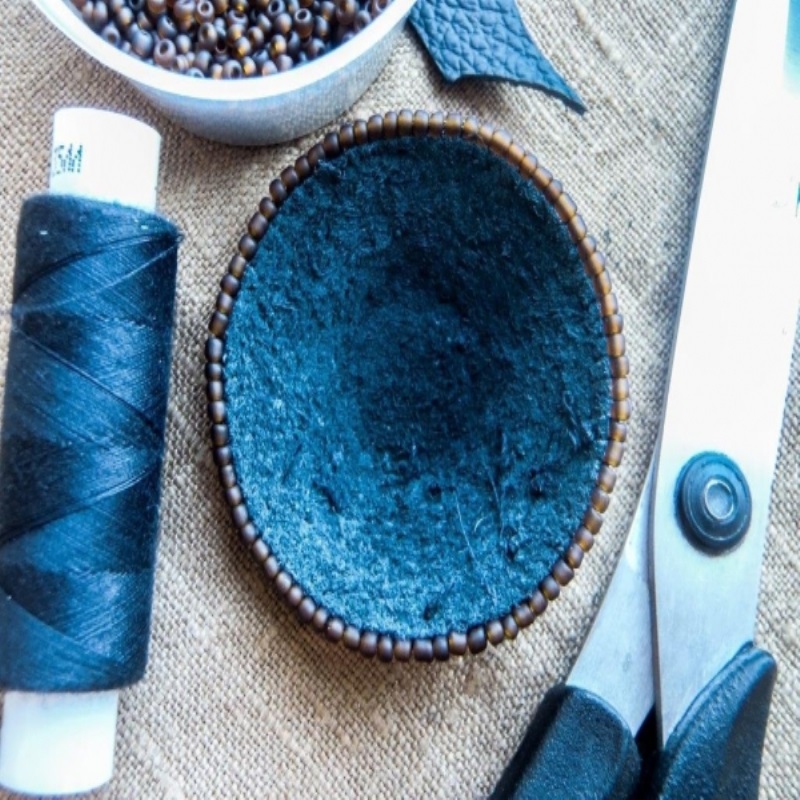
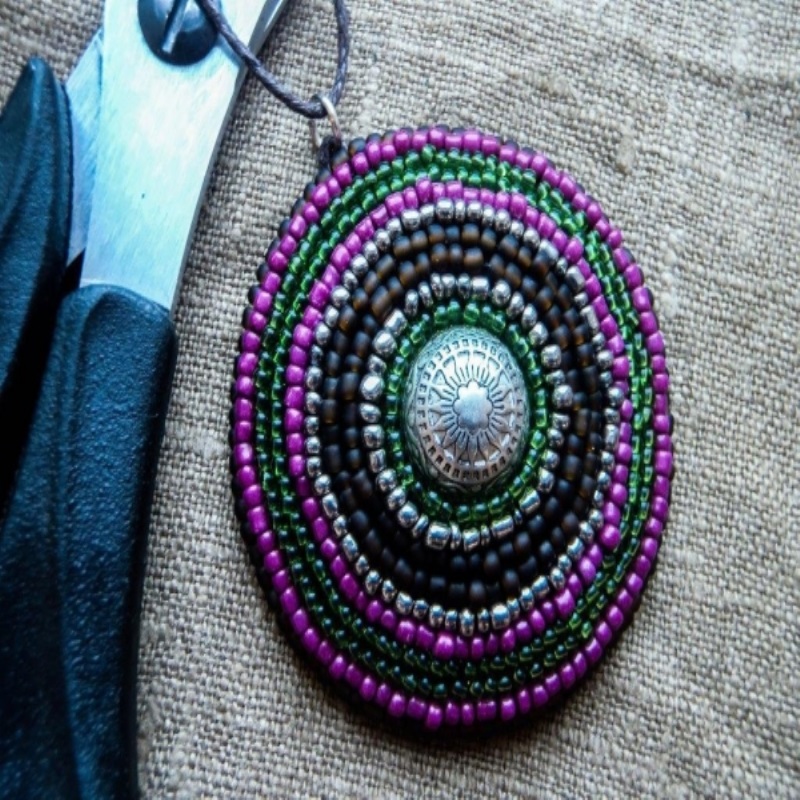
To start to embroider, we will need:
- a small piece of leather (natural or artificial)
- bobbin thread
- thin needle
- a little instant glue
- beads nice colors
- the Central element — something round with flat back side (for example, I took a decorative button and tore off her leg, which usually sew)
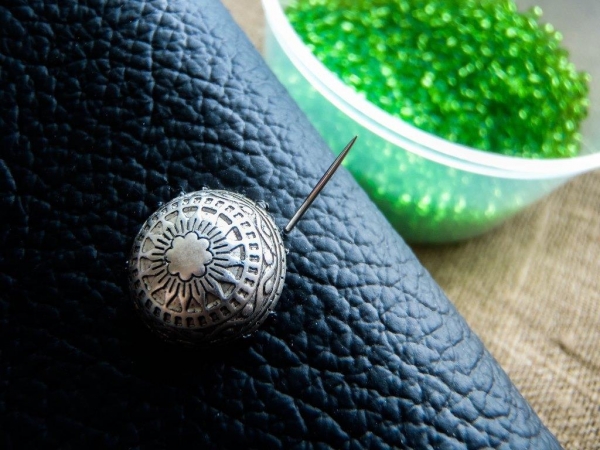
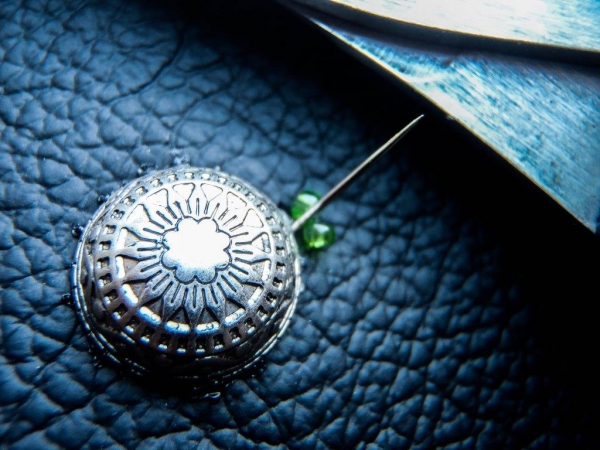
First glue the Central element (I will continue to call it by a button, for simplicity) on the skin and a little wait until the glue dries. Then cut the thread, devem the needle, knit a knot. On the reverse side pierces the skin with needle so that its tip came very close to closure, but not closely.

Stretch the thread, typed on needle 2 beads (in the process suddenly realized that the green color in this case blue cute to me anymore.)
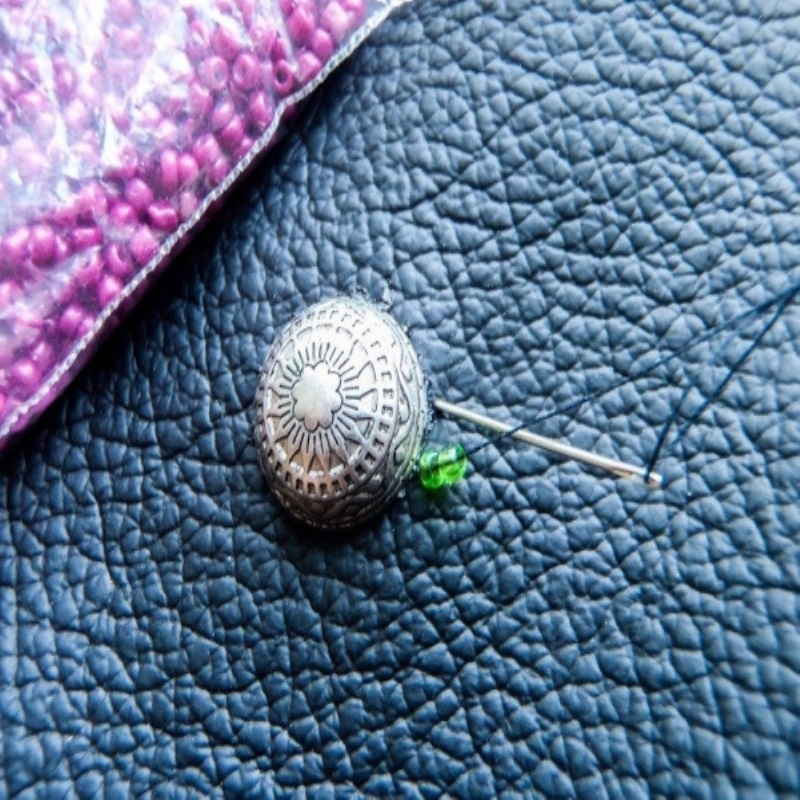
Again pierces the skin with a needle, now on the front side. At the same distance from the buttons and the stitching size should be approximately as long as two beads. Stretch the thread.
Again on the front side of the needle goes between the beads.

Extending the thread, threading the needle through the seed bead you strung the second, tighten.
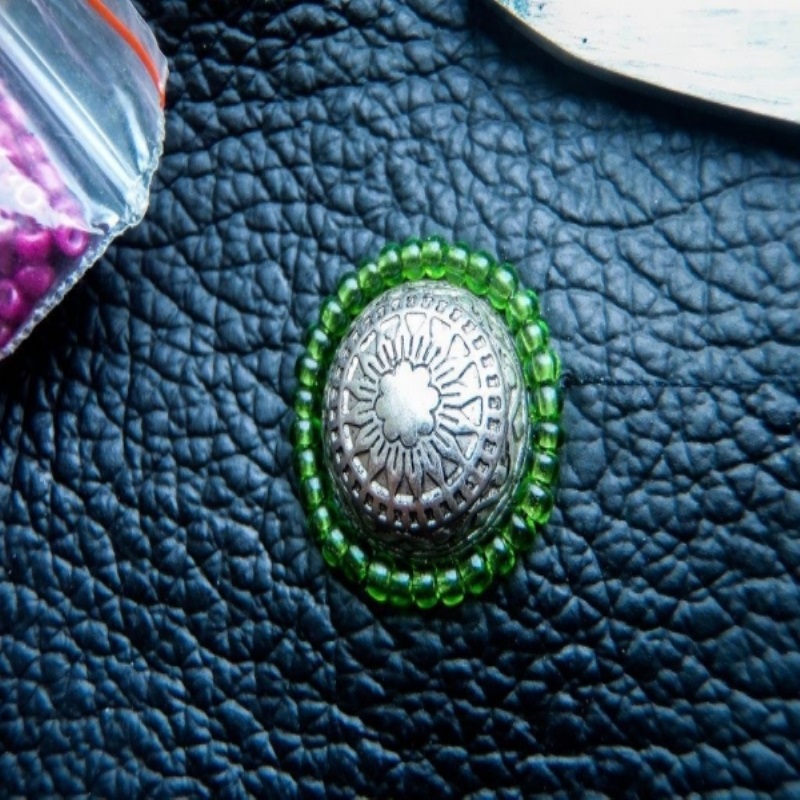
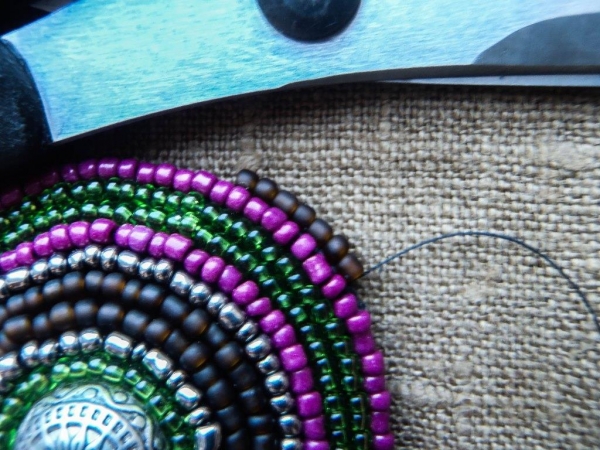
This is the main technique that is embroidery. Thus we “go around” the circle button, making sure the beads fit tightly to her and to each other.
When the circle will be completed, it a little bit to pull together, passing the needle through all the beads in a row. Then taking the needle on the underside, clinging to any stitch, fasten thread and cut. The first round is ready!
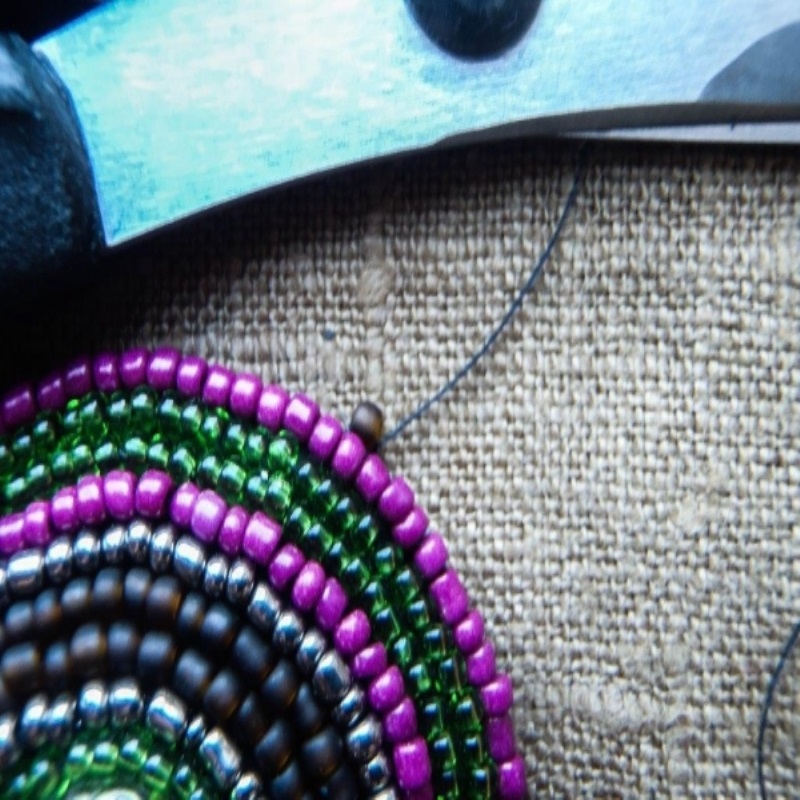
These circles are made the same way, the beads can be different colors and sizes.
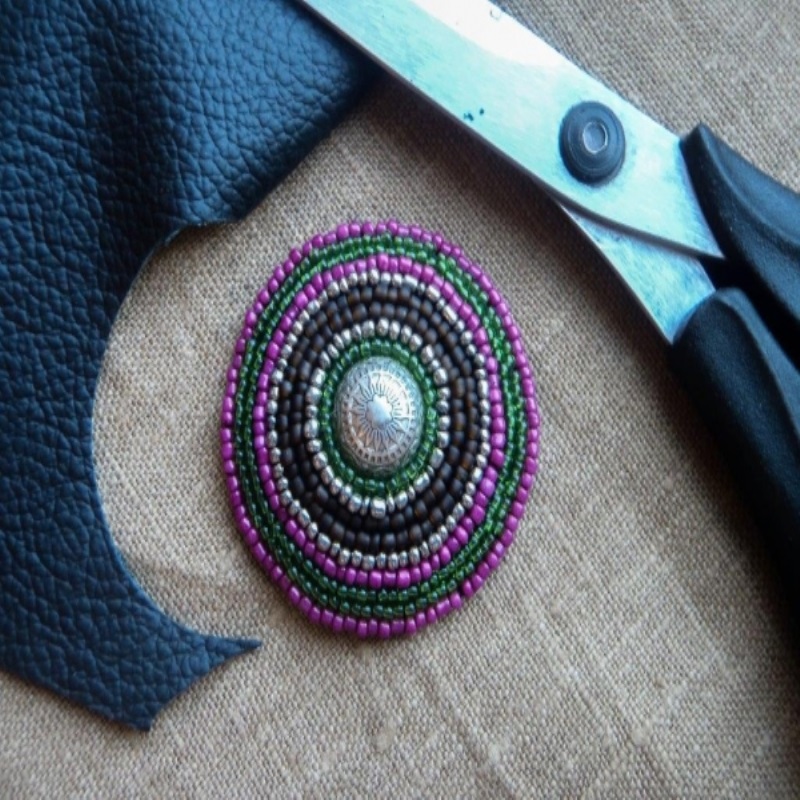
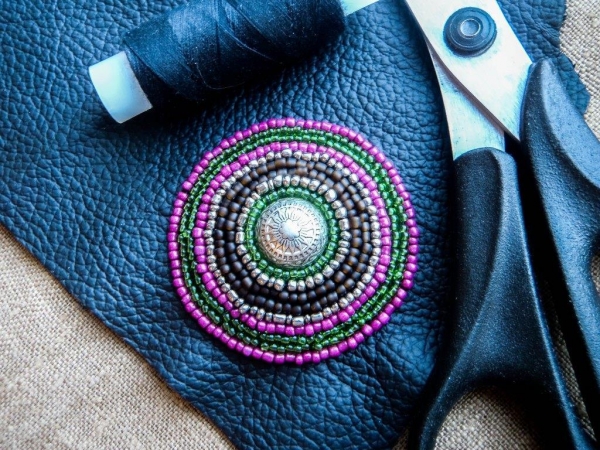
When you think that the size of the pendant is sufficient time to process the edge. First, just carefully cut along the outline, being careful not to damage the stitches.
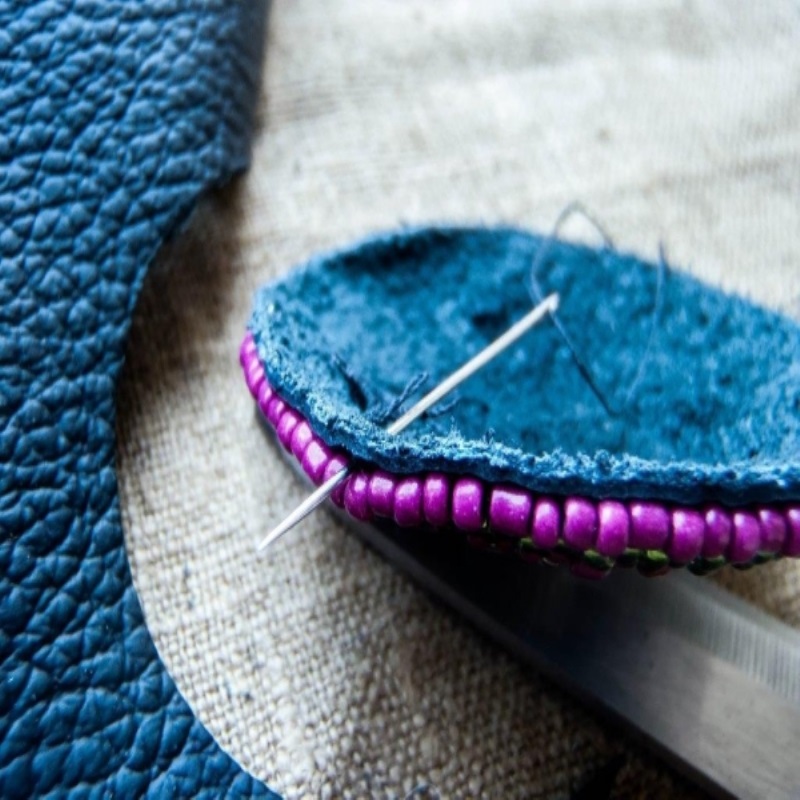
Then take a needle and thread, knit to the end of the nodule and pierces the edge of the pendant as shown in photo.
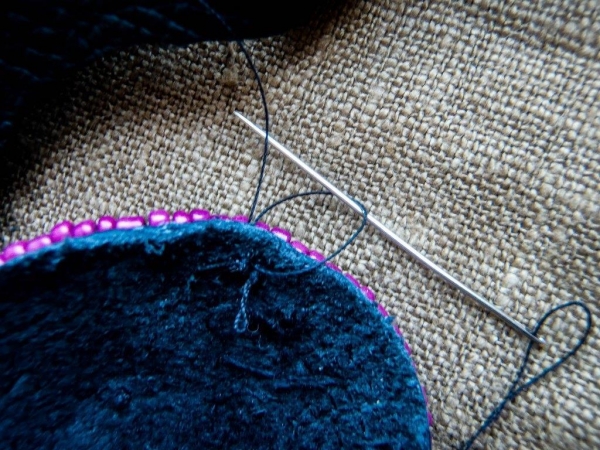
Stretch the thread, repeat the same stitch, again extend, but not to the end — catch the loop needle. Skip the needle and thread into the loop and then tighten only.
Recruit one bead, back down from the first stitch slightly to the left and again pierces the edge.

Begin to stretch the thread, catching the loop, we pass it, tightens.
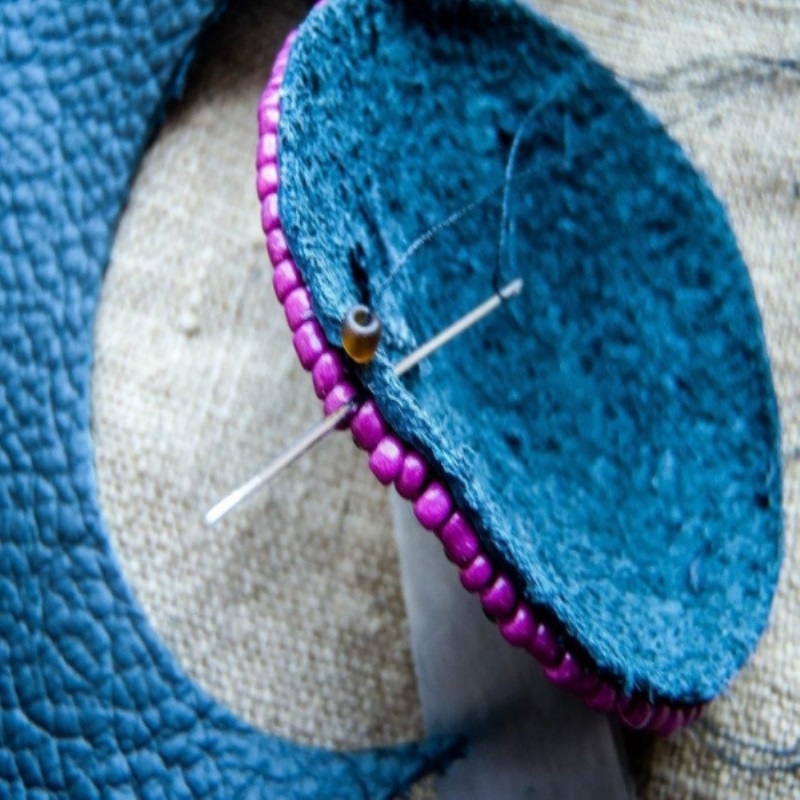
A tiny bead is put into its place, closing the cut skin. While it is oriented the same way as the beads in the other rows.
Continue to shift the stitches to the left, gradually closing the edge. It is important to do the stitches often enough to avoid any “gaps”.
When the circle will be completed, fasten the thread and cut it. Here’s how it would look from the inside out.
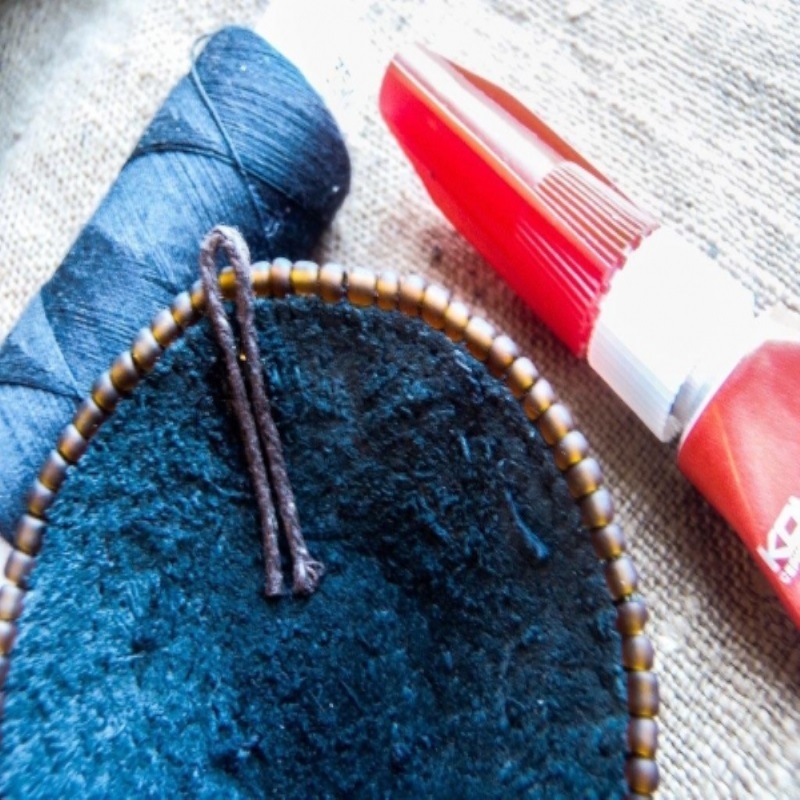
Now organized by a loop, which can then be hung from a necklace. It can be cut the same skin, on which was embroidered, or made of thin lace matching color. Take a small piece, fold in half and glue the reverse side.
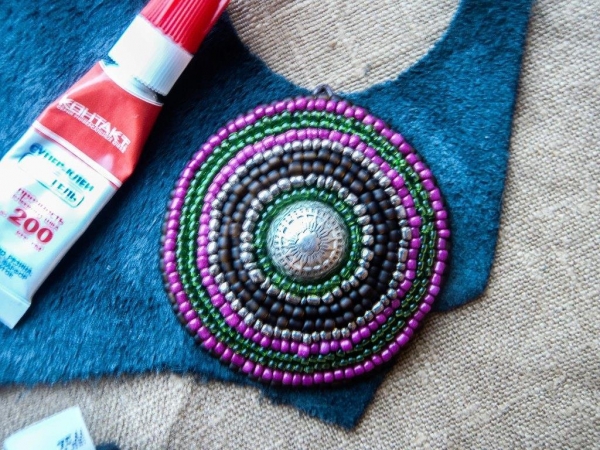
And the last thing is to close the underside. Carefully glue the embroidered detail on a piece of skin, smoothing out all the bumps.
After this it remains only to once again be cut, and the pendant is ready! You can just broadcast on the lace, but you can think to him the string of beads or a chain.
You spring mood, inspiration and bright colors!