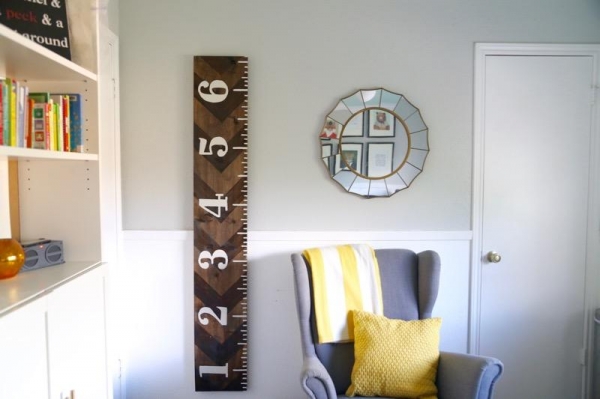
Every kid likes to measure your growth and to make marks on a doorframe or a special bar that hung on the wall. This line can be purchased in the store, but you can make your own hands. In this article we will tell you how to make a ruler to measure growth.
Materials and tools:
- Board of suitable size
- masking tape
- stain
- paint and brush
- roulette
- printer with paper (optional)
Instructions for making ruler for measuring the growth
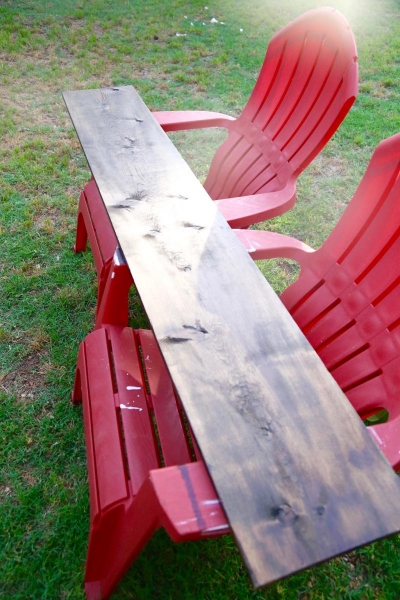
Prepare a Board of appropriate size, in our case, the Board length 2 meters, width can be arbitrary. Where you want to locate a Board with sandpaper, treat it with stain in a single layer.
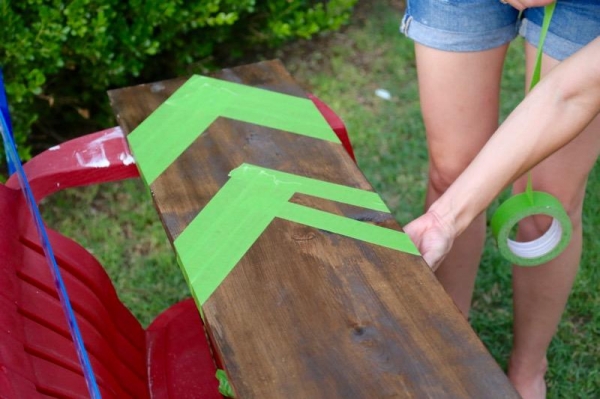
Using masking tape on the surface of the Board can apply the ornament. Just cover those areas that the field re-opening and the stain should be lighter. In our case we used the pattern “herringbone”.
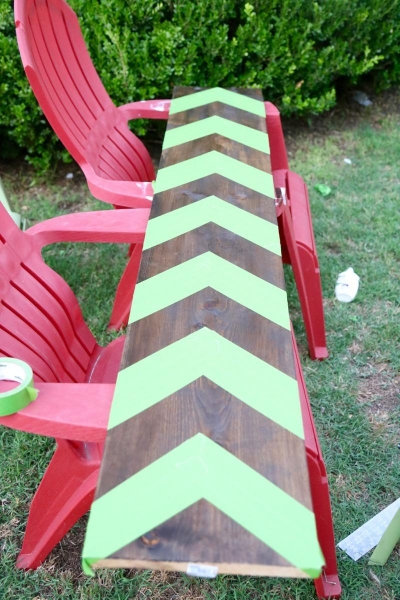
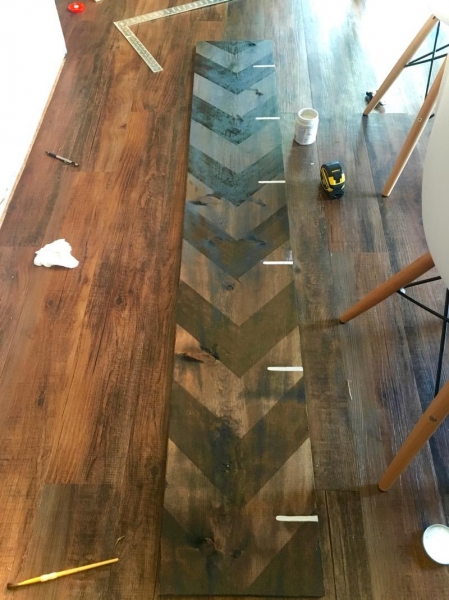
Apply a second coat of stain. Let it dry for about 30 minutes, and then remove the masking tape.
Now for the line you need to apply the markup. To do this, use a tape measure and white paint. Instead of paint you can use colored self-adhesive film.
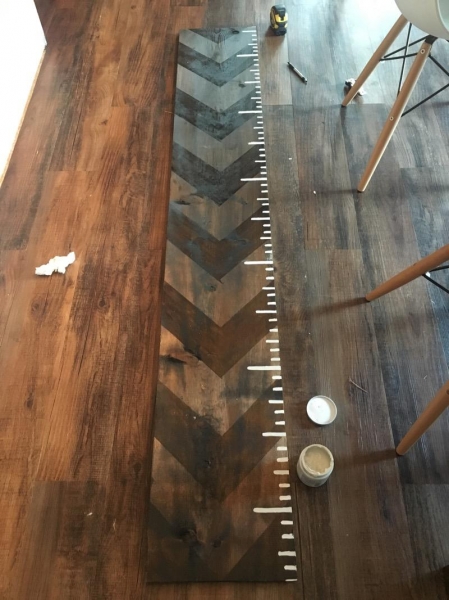
Important: before marking, decide at what height from the floor to hang your ruler. The markup will need to shift down the same distance.
The main lines of the make longer, intermediate and shorter, as on a conventional ruler.
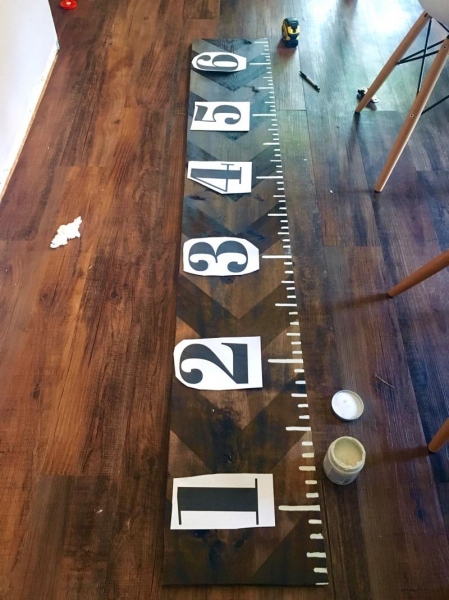
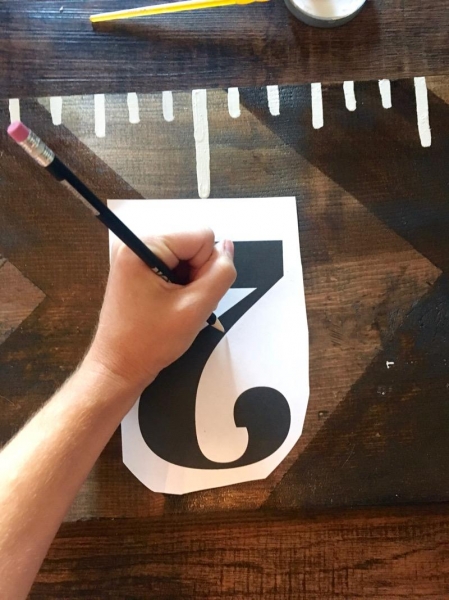
To the numbers get a smooth, pre-print out templates of the desired size.
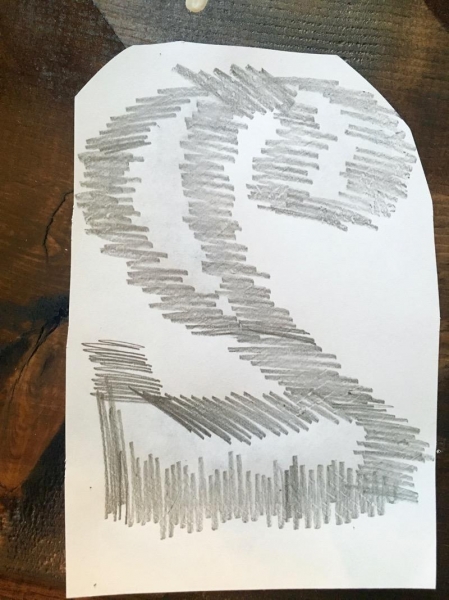
To transfer the outline of the numbers on the tree, the back of the template with a simple pencil stroke. Then attach the template to the shaded side of the paper and draw the outline with a pencil, pressing hard enough. The circuit must have another photograph taken on the surface of the Board.
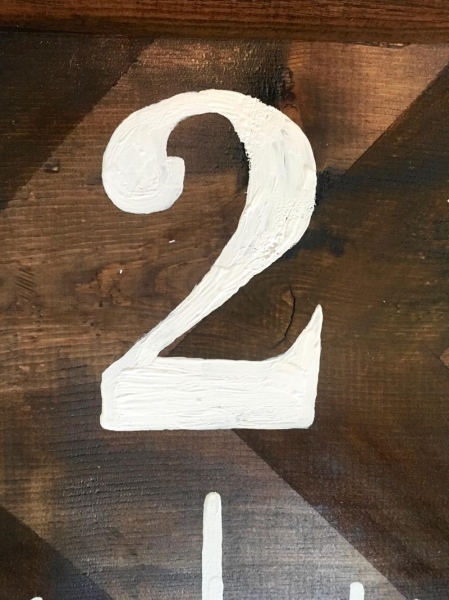
Apply the numbers paint that will stand out from the crowd.

Fix a line on the wall in any convenient way. This can be done using screws, hooks or other fasteners.