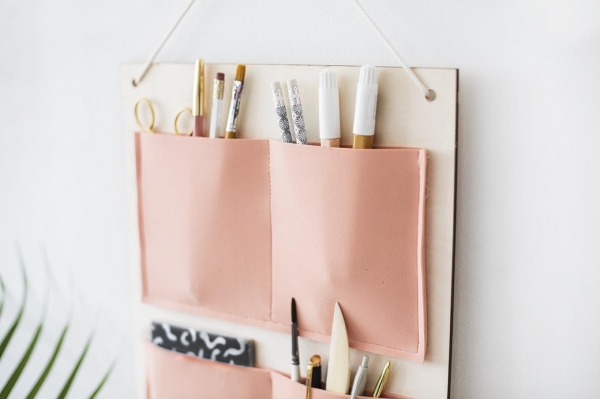
Everyone knows that the order in the workplace — the key to a comfortable and productive work, but frequently the table is not enough space to put all you need, not turning it into a “dump”. In this case, there are various table or wall organizers that will help to relieve the top and store all you need within reach. Today we’ll show you how to make a stylish wall mounted organizer with your own hands.
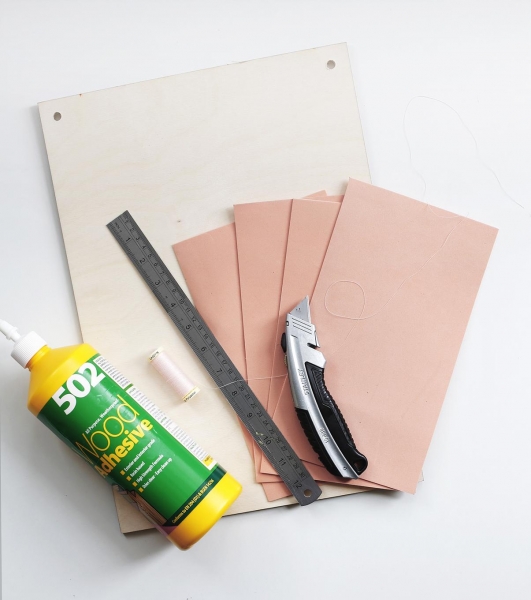
Materials and tools:
- sheet 6mm plywood (approximately A3)
- drill
- drill
- colored leather or leatherette (4 of a rectangle is 26×15 cm)
- thread of the corresponding color
- line
- pencil
- carpenter’s glue
- construction knife
- rope
How to make organizer
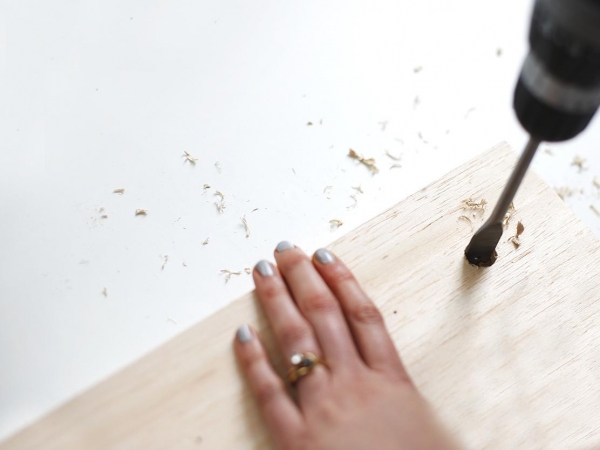
Prepare a sheet of plywood, carefully treating all faces. From the top two corners measure the same distance and mark the points for drilling holes for the rope. In our case, the holes are placed at a distance of 3 cm from each side. Drill holes in the intended locations.

Tip: to the back of the plywood failed chips, is placed under the sheet plate, and then drill the holes.
In the sewing machine place the spool of thread in colors that match the leather or leatherette.
Fold the leather rectangles in pairs to make long pockets. How their pins. Step back from the edge about an inch and stitch around the perimeter, leaving the top edge intact. Mark the middle of the resulting pocket, stitch along the center to divide it into two parts. The same manipulations produce with the second pair of the leather rectangles.
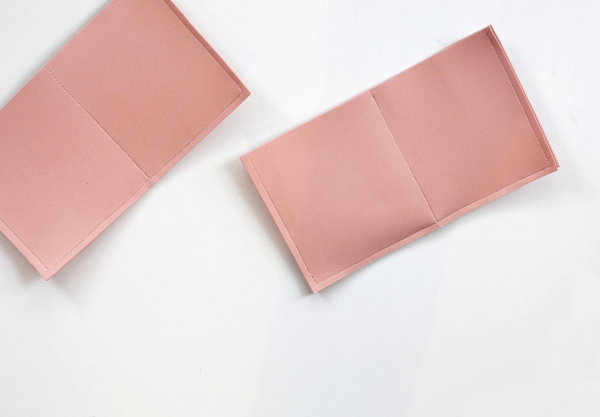
In the end you should have two wide pockets, each of which is divided into two compartments.
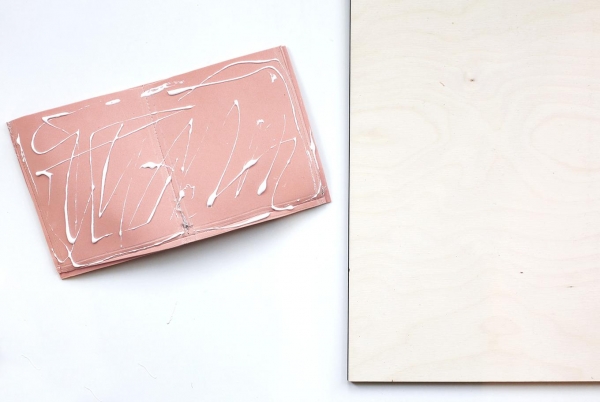
Rear pockets coat carpenter’s glue, glue them to the plywood, making sure the pockets were centered and parallel to each other. Secure the pockets with something heavy and let the glue harden.
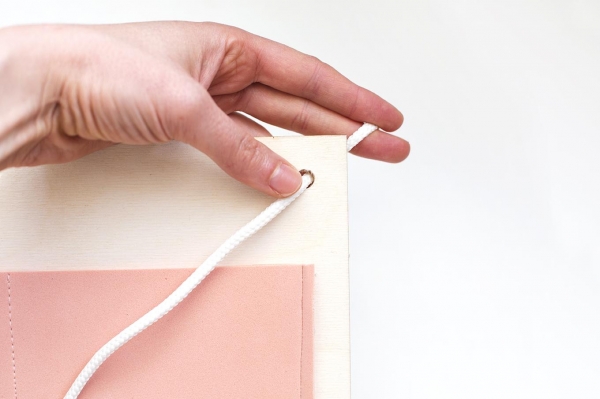
In the pre-drilled holes pull the rope.
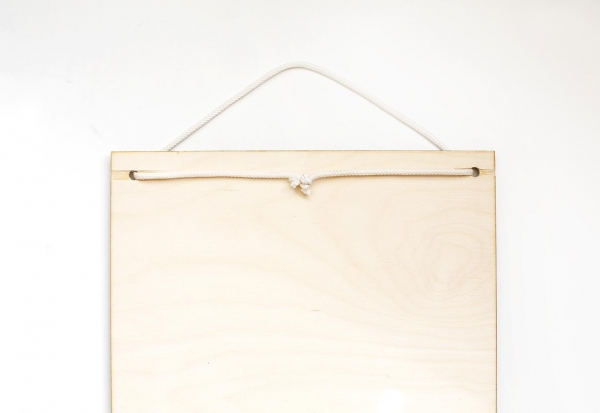
The protruding rear ends of the tie on the knots to rope is fixed.
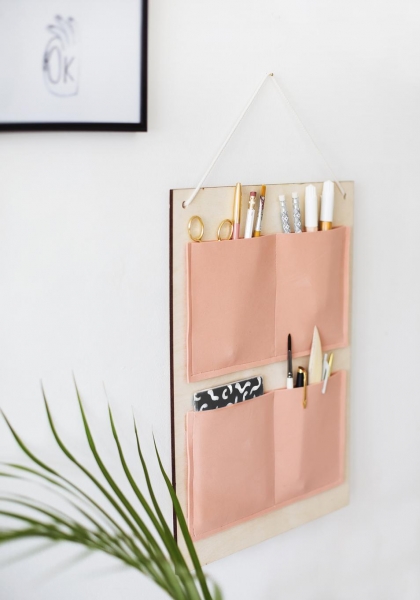
Hang organizer on the wall, fill the pockets with items that have occupied your Desk.