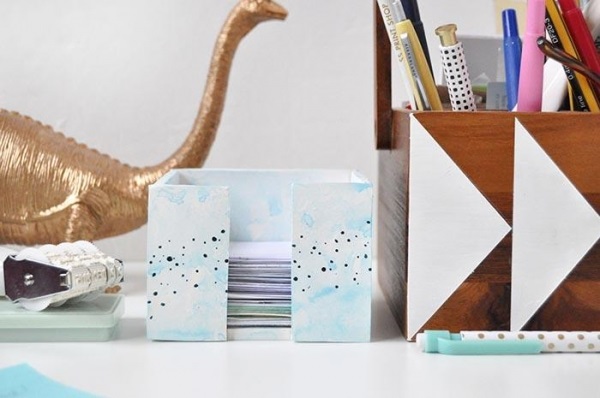
On virtually every Desk you can see a pile of papers for notes or stickers. If you want to contribute in saving the environment, cut into small squares can ordinary office paper, part of which remained unused. The only disadvantage associated with such substitutes stickers — nowhere to store them.
In this article we will explain how to make an organizer for papers and stickers with your own hands
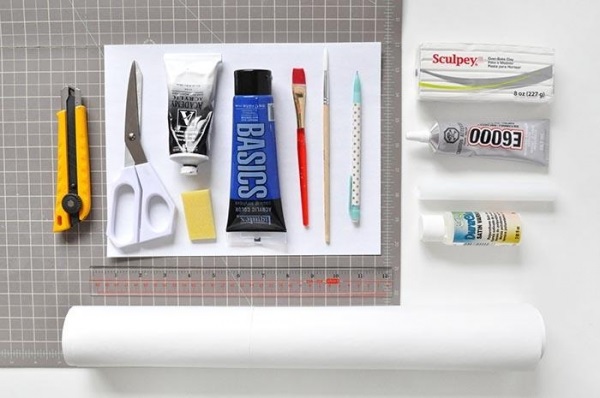
Materials and tools:
- bake polymer clay
- paint
- a small brush
- sponge
- Skalka
- line
- knife
- paper
- food parchment
- transparent varnish
- reliable glue
- pencil
- the Board for cutting
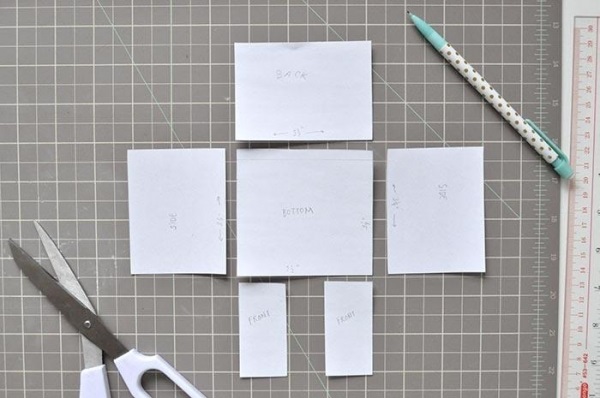
How to make an organizer for papers and stickers with your own hands
Prepare templates out of paper of appropriate sizes. In our case, the dimension of the base 8×8.5 cm size of side walls 8,5×6,5 cm the Rear wall — 9×6.5 cm, the front wall 3×6,5 cm

Roll out a layer of polymer clay on a piece of kitchen parchment with a thickness of about 5-6 mm. If you have a Board for cutting clay, parchment is better to lay on top of it, and then roll out the clay.
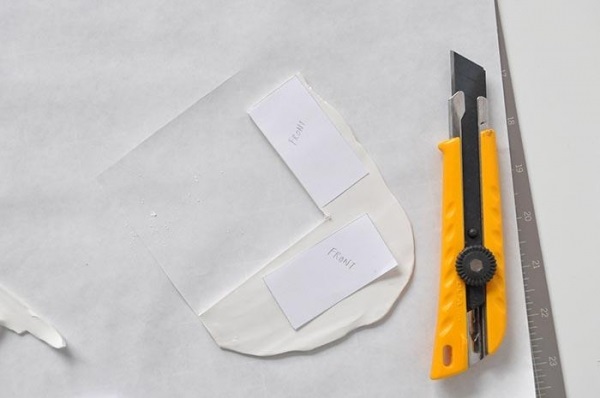
Place the templates on top of the layer of clay. With a sharp knife cut the blanks on templates. Billet, place on a baking sheet, covered with parchment to his food. Bake the clay following the manufacturer’s instructions. Remove the clay from the oven and let it cool down.
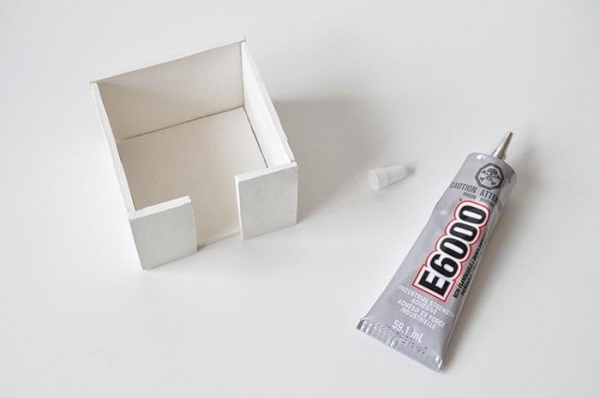
Glue the sides to the base, and then secure the back and front walls. Allow the glue to dry.
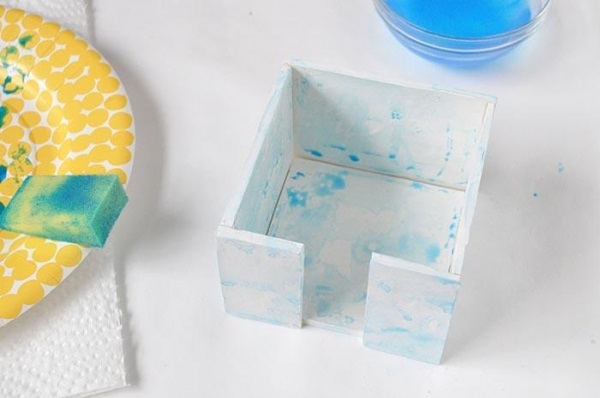
Dilute the paint with water and then with a sponge apply it to the external and internal surfaces of the organizer, trying to keep the paint covered them unevenly. Allow paint to dry.
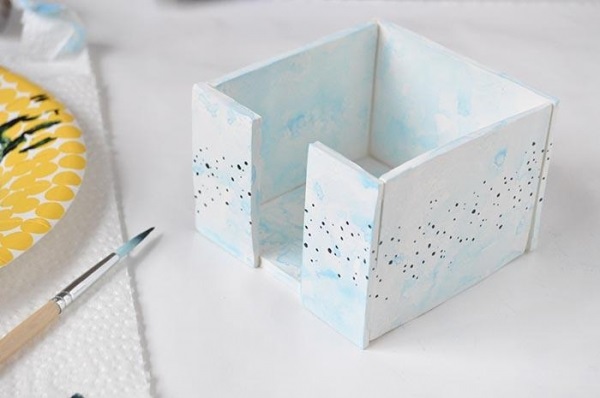
Prepare more saturated colors, and then using a thin brush, apply dots wide strip around the perimeter of the organizer.
Cover all surfaces with a clear varnish, let it dry.
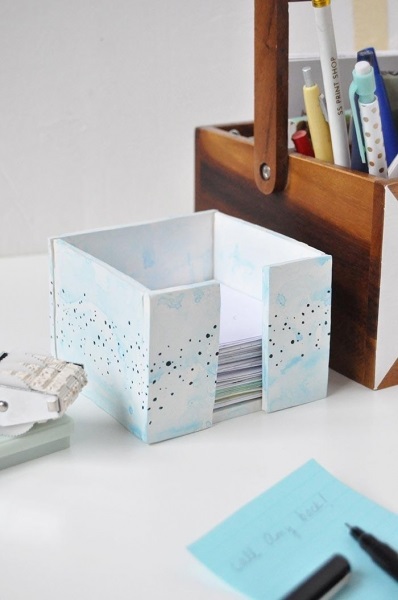
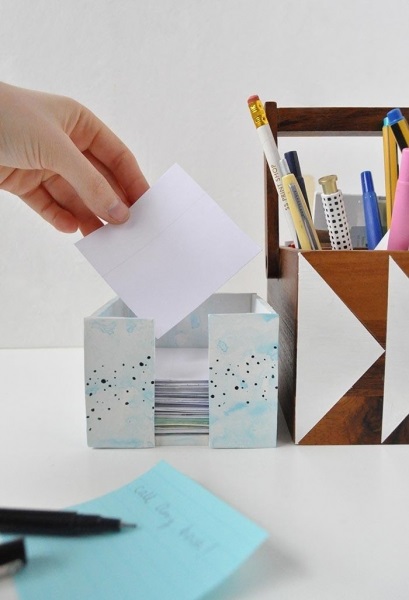
Organizer for papers and stickers ready.