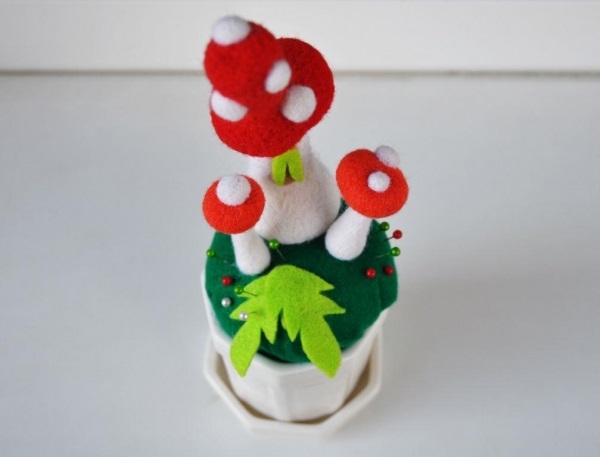
A unique gift or interior decoration can be almost anything, even something as simple and utilitarian at first glance, a subject like a pin cushion. However, the sprayer may be a bulk composition: from the clearing in the forest to a fairytale castle. Don’t believe? The technique of dry felting allows you to create amazing things from scratch!
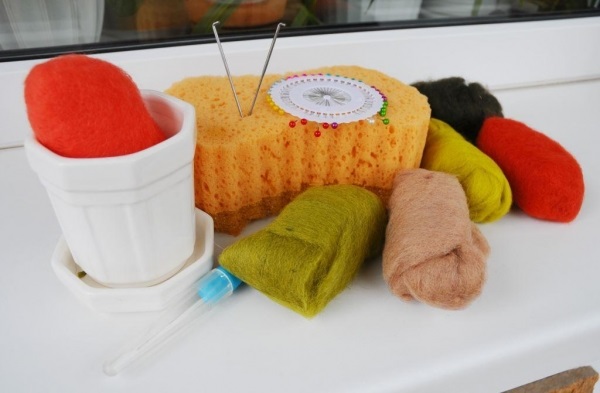
Materials and tools:
- napadena wool red and white;
- green felt or napadena wool of the same color;
- needles for felting. Preferably No. 36, No. 38 and No. 40 according to the international classification;
- special substrate or a soft sponge;
- a Cup, a pot, a jar, a bowl or any other container of your choice;
- gasket (sintepuh);
- Thermopylae or reliable adhesive;
- the decor (at your discretion).
The pin cushion in the technique of dry felting
The Cup, saucer or jar to create a decorative terrarium or fairy any song of your choice and imagination, that would look really impressive. Try?
Read more about the basics of technique and material selection for dry felting can be found in the preceding article will outline a few basic points. You may, like me, to make a composition with muhomorchik or come up with your own version, stages and techniques in any case will be similar.
Reminder: needle felting are very sharp and fragile, so care must be taken when working. Playing only on the substrate!
To start preparing the wool for felting. The height and size of mushrooms selected depending on the kind of capacity you picked up for them. The tallest mushroom I got about 12 cm in height, and the smallest about 4 cm. it is very important to remember that the initial amount of wool when felting is reduced in 3-4 times and the material should be taken with some reserve.
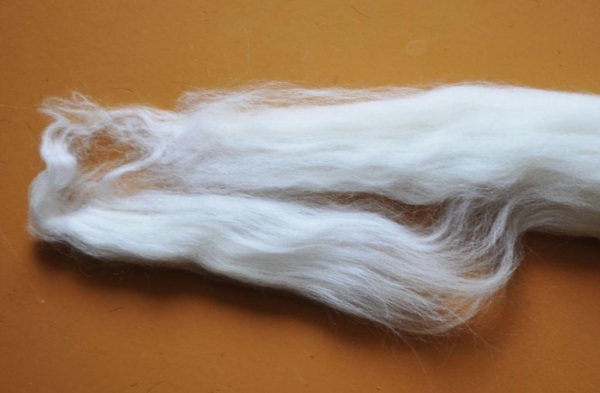
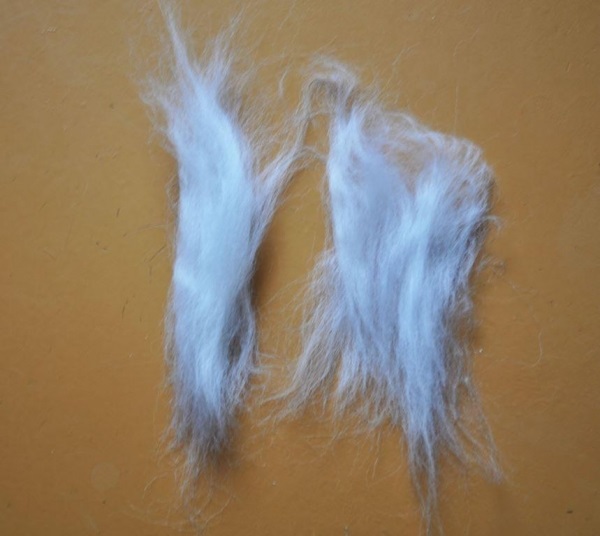
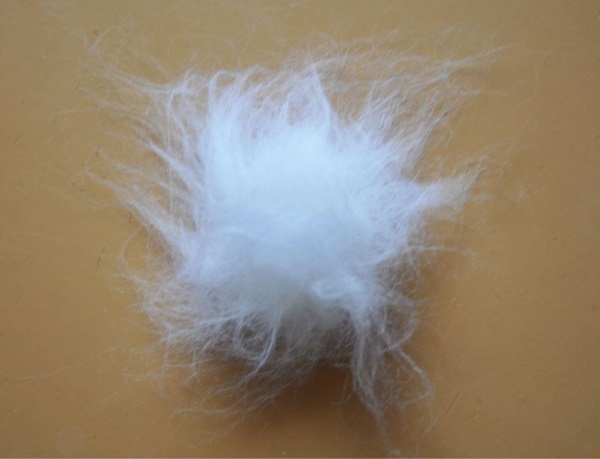
If you got wool in the form of long fibers (rowing belt) before work should be put in proper form. Wool for felting should always be a fluffy ball with no visible fibers and strands. In order to bring any material into the proper form, start to break the locks first vertically, then horizontally, until the mixture is completely homogeneous.

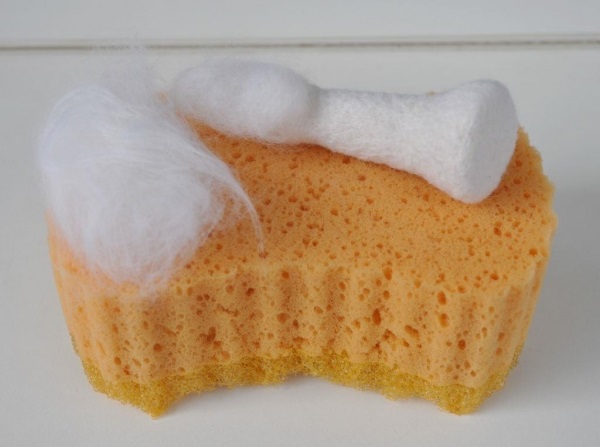
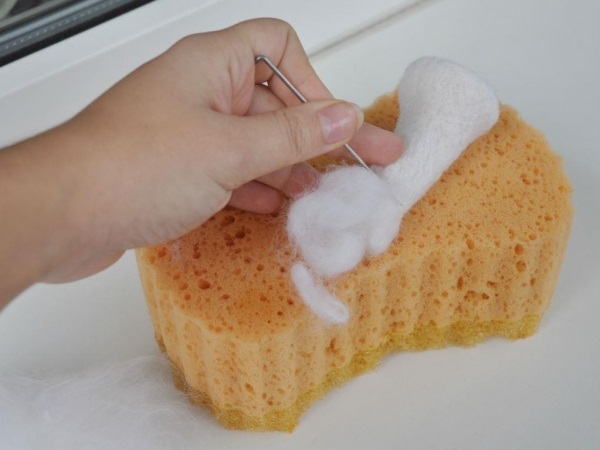
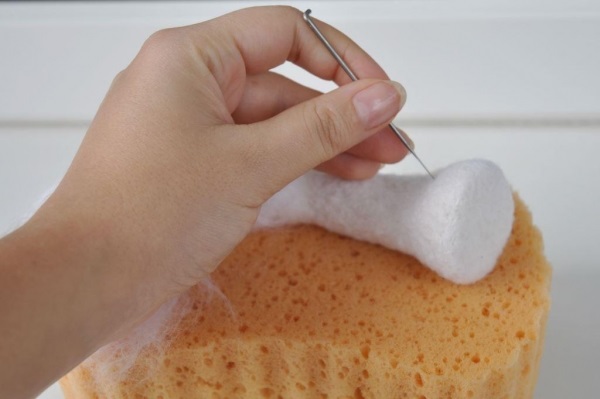
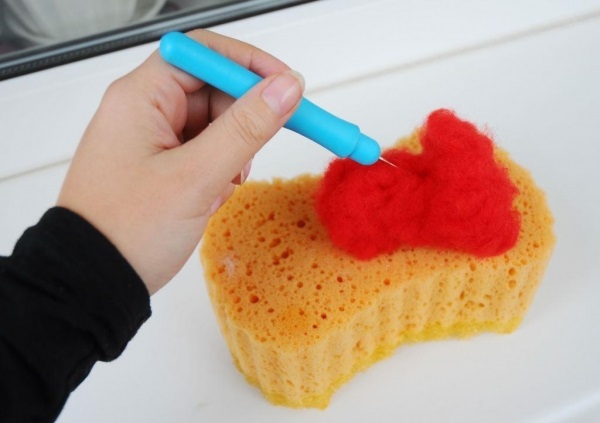
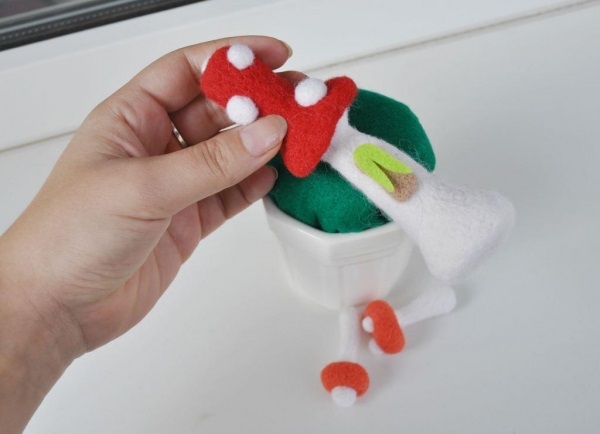
The furry lump on the substrate formed by the exemplary blank of the Stipe. For this we use the thickest needle available, and the original cylinder is constantly rotated in the hands, sticking the corner of the maximum number of times from different angles. Need gradually form itself will begin to take shape in your hands, and don’t forget that the parts must be flat bottom, so she could stand.
If the item will need to connect with another part, as in the case of the Stipe, the upper end definitely left untreated, then pivalate loose fibres.
As you work on changing the needle thinner!
Reminder: drag any item to the point when it will become really dense. Soft hair can acquire density plastic and rather smooth surface — that’s a quality you should aspire!
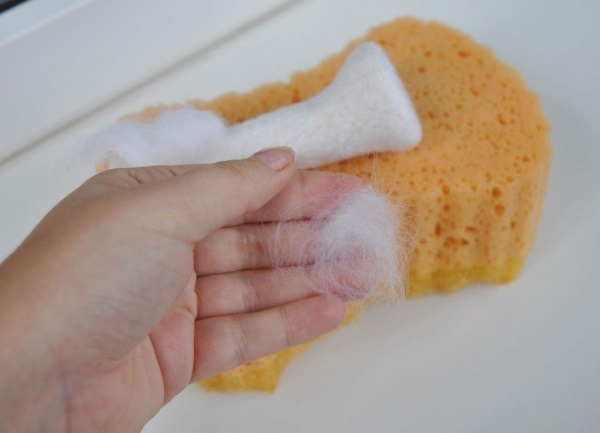
How to make the surface smooth and beautiful figures? For this you can use overlays in the form of a thin “clouds” and a thin wool needle for finishing. Just primalev the strands of wool on the substrate, carefully overlay them on the detail and privaliges quietly, hiding flaws.
Tip: if you need to increase the volume in any place of the figures, you can also privesti “overlay” of the desired size.
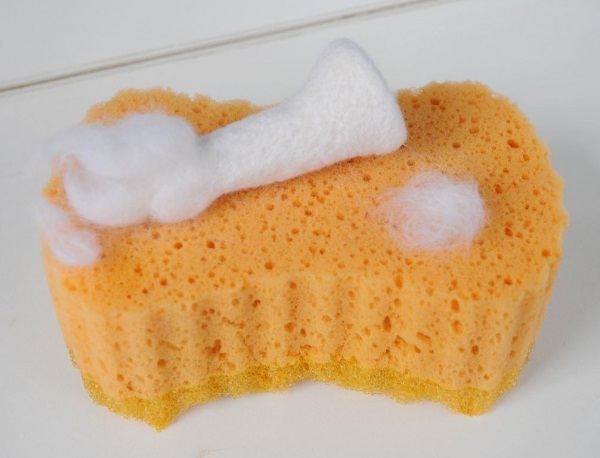
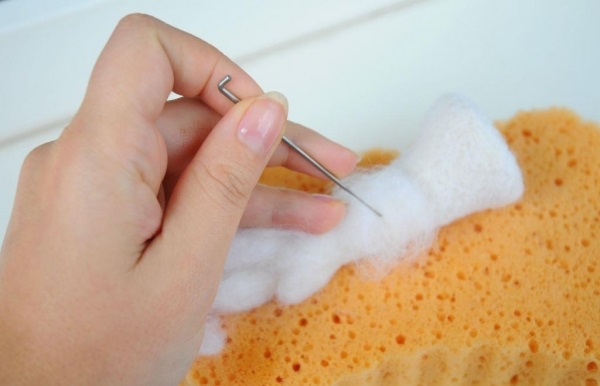
The cap of Amanita, are made quite similarly, but without loose connective strands. You can give it any shape.
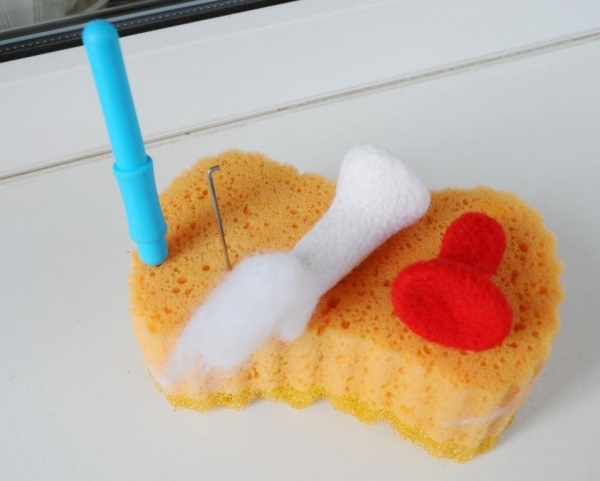
Just connect details: free fiber hard perevalivaetsya to the second part.
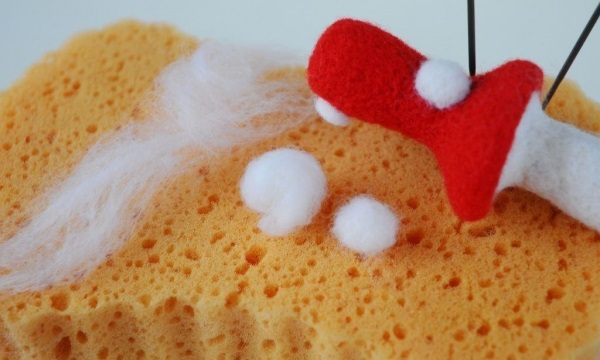
The spots on the hat are made of loose balls of white wool of any size, which just perevalivaetsya to the basis of the average needle.
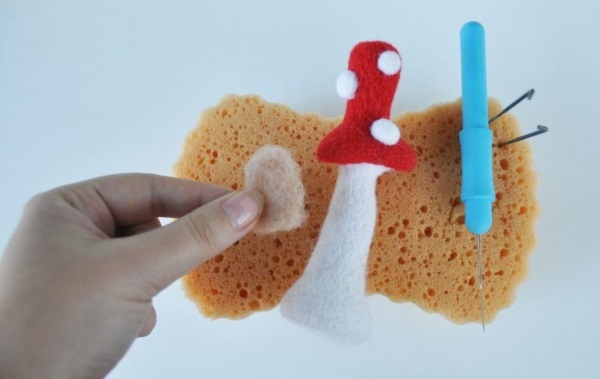
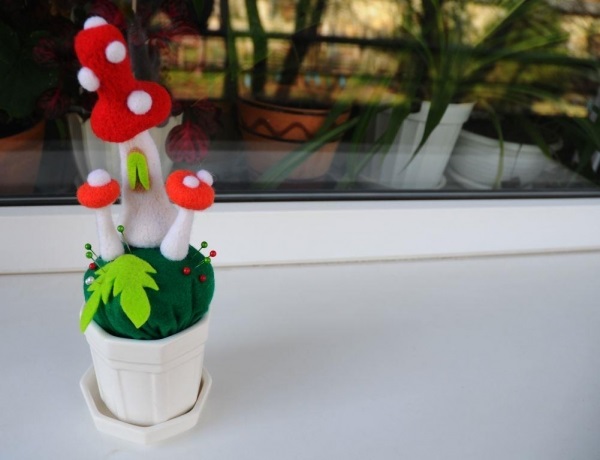
Want to add a little more decor, for example, turn a mushroom into a house? It’s enough to make harvesting of ornamental window of suitable wool. Detail should be as thin and with smooth edges, so special attention should be given to the felting end portions of the workpiece.

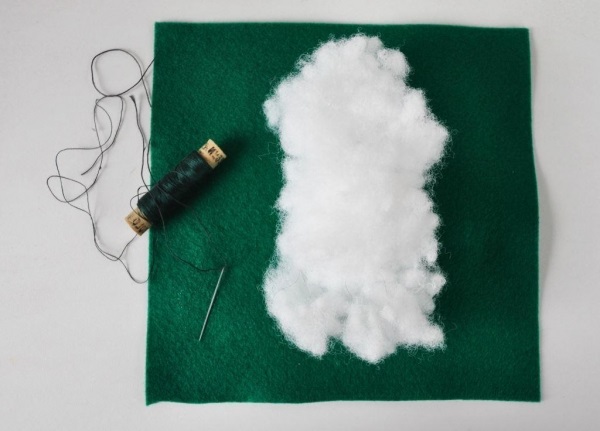
How to make a Foundation for the beds? The easiest and fastest way to sew soft felt ball filled with stuffing. Of course, you need the ball you can napadenii of matted hair, but the time and effort it will require much more.
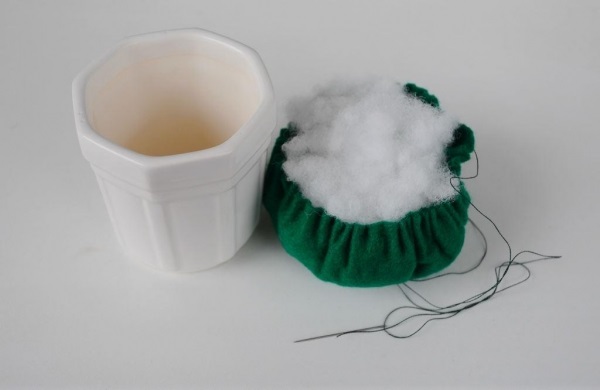
Using a plate or a compass draws a circle on the fabric and sew it in a circle joining stitch, pull the thread gradually. Inside the bag put a gasket and put it not too tight.
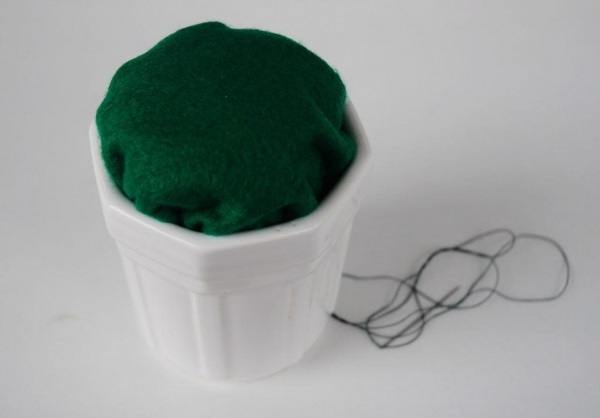
The canvas size is adjustable by releasing or pulling the thread depending on your current tanks.
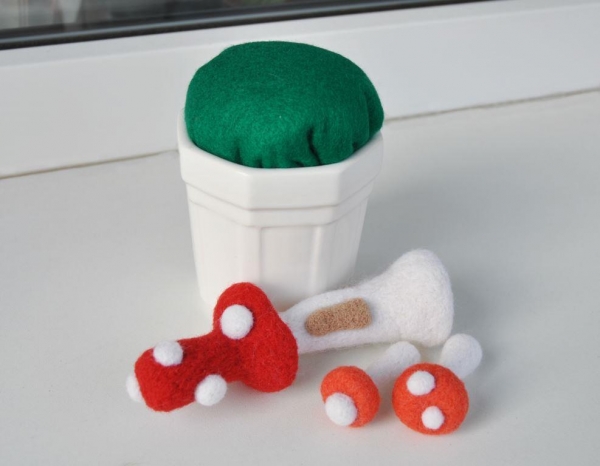
If the main parts of the beds are ready, proceed to the decor.
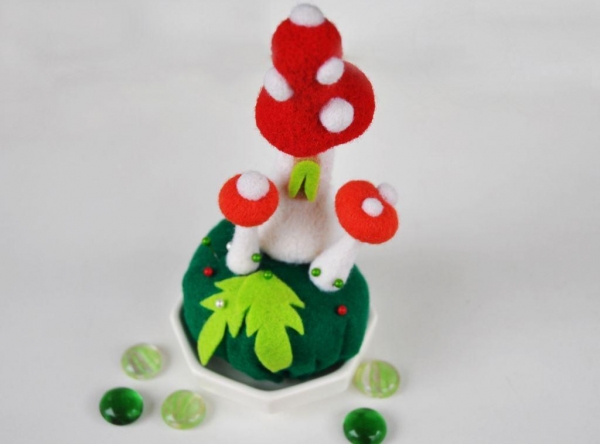
Here you are completely free in their imagination: on the basis of you can sew a footpath, flowers or sew on beads. You, like me, cut out of felt curtains for the window and glue them on the finished window.
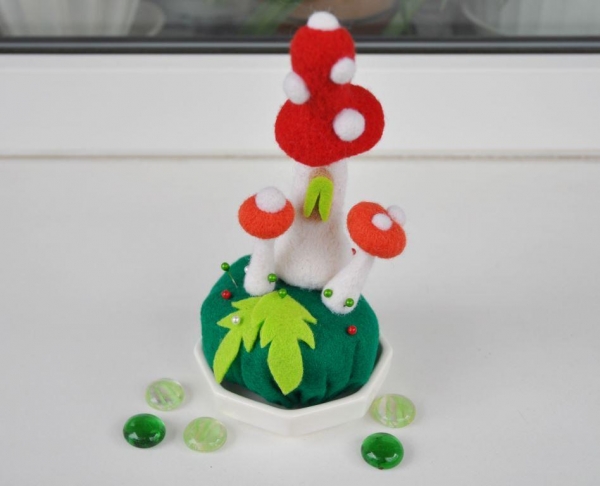
A couple of leaves from bright felt also will not spoil the overall look!
Details conveniently mounted on the base with a hot glue gun, but it is important that the glue was not visible! The pin can serve as an additional fixation of the decor.
The sprayer is ready, this definitely should not be ashamed to put in a prominent place.