Today it’s hard to imagine life without computers. With the advent of personal computers graphical user interface of a computer mouse has become an indispensable part. Modern optical mouse is able to serve without repair for many years, but nothing lasts forever and sooner or later it ceases to work as it should. In the workshop they are considered rare, as the price he would likely cost more new. So usually repair the mouse yourself, or buy a new one.
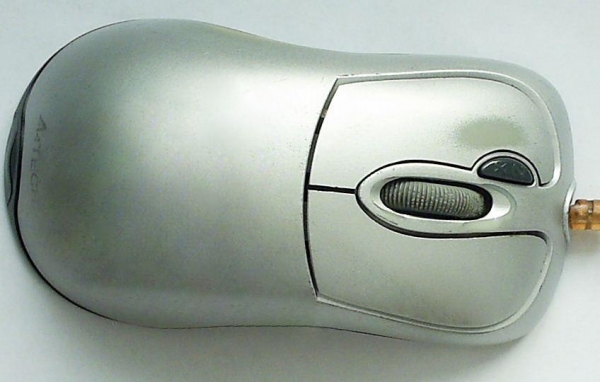
USB mouse that I’m repairing, has served me well for 5 years. The first repair was after 3 years after purchase (cleared to). Recently again became ill click the left button, and this time refused to work correctly with scrolling pages.
Disassembly mouse
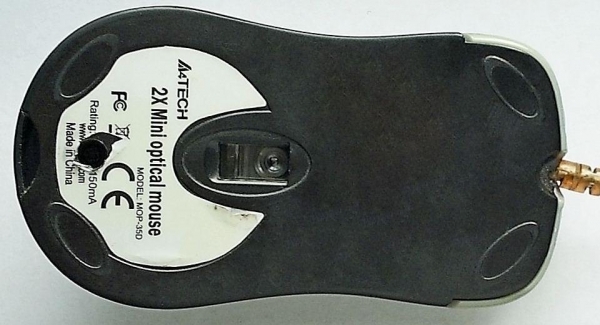
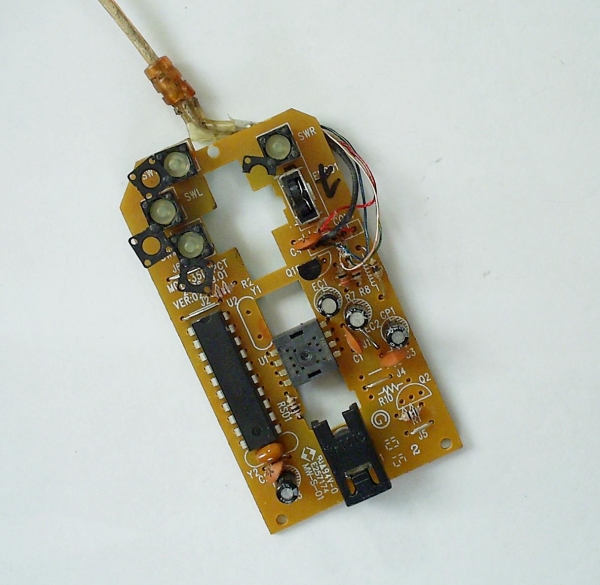
To disassemble the mouse, you need the bottom side to find and Unscrew the mounting screws. On this model the cover is secured with one screw (there are models on which is mounted two or more).
After loosening the screw slightly lifting the cover (behind where the screw is) to move it forward, not to break off the latches on the lid.
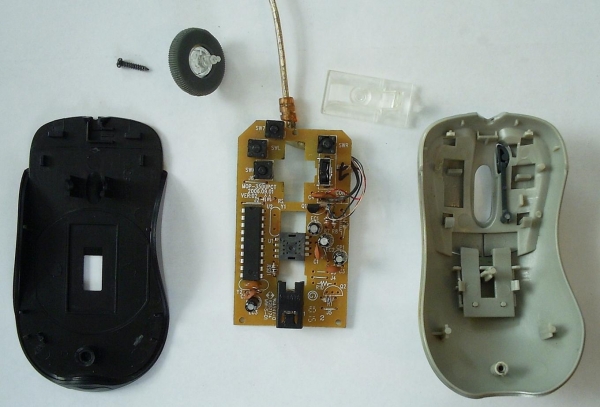
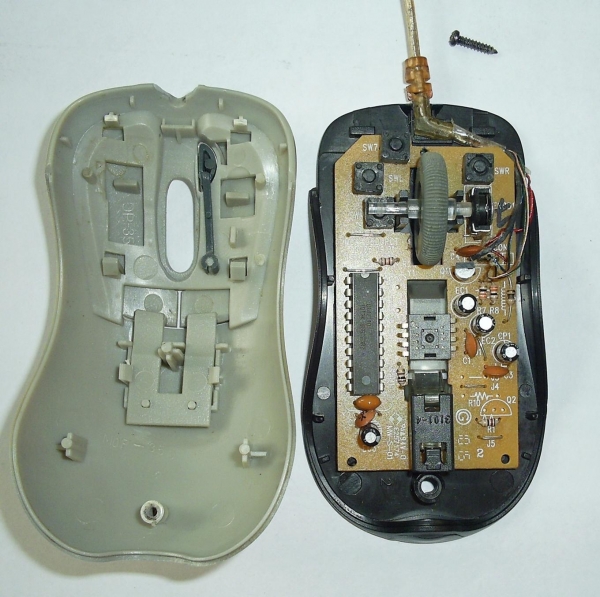
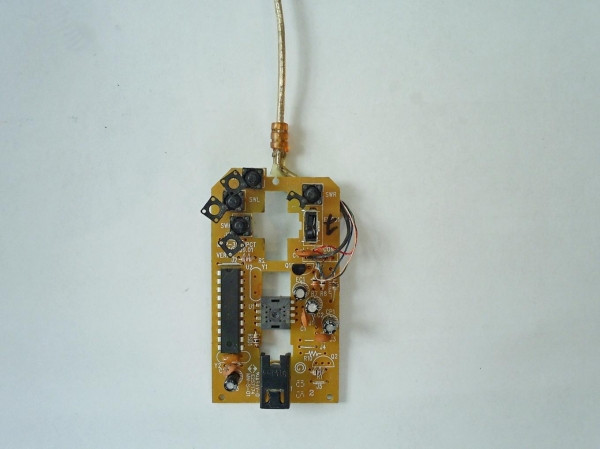
As can be seen on the photos Board with details just pressed the lid to the base (on some models it is fixed by screws or latch).
The cause of the fault
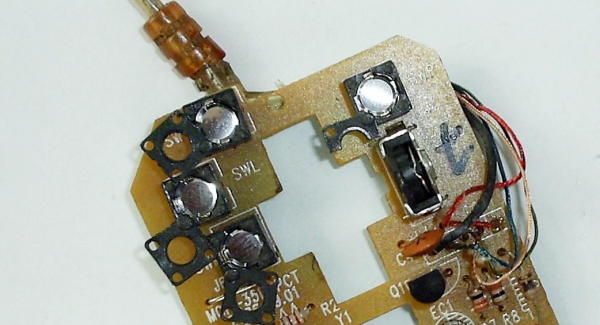
As buttons typically use the clock button or the dip switches are non-latching. Contact plate clock button, which is, as a rule, deposited silver coatings, over time, more oxidized, i.e. the film becomes thicker tarnishing and light pressing, the crushing of the films does not cause tarnishing of electrical conductivity even at the expense of tunnel effect. In other words, the oxides interfere with the normal functioning of the buttons.
Buttons should be replaced by new ones, but, as always, at the right moment is not at hand and one can only repair them. In addition to restore their performance will not be easy.
Disassembly and cleaning
To disassemble the button, you need between the lid and the base to stick a knife or other suitable tool and prying, rasclaat rivets. You can leave the cover on one rivet, then to make it easier to collect back button.
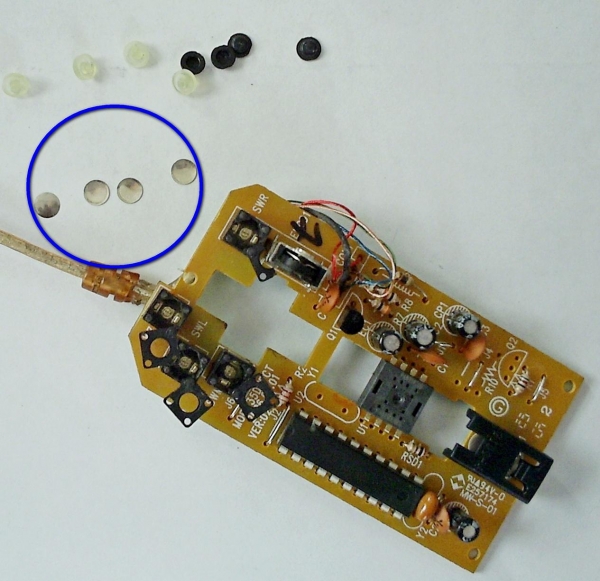
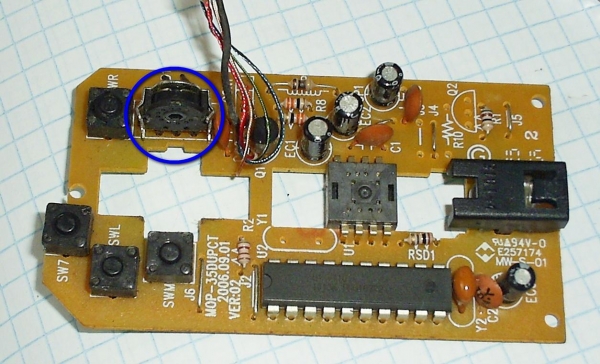
In the blue circle oxidized metal plate.
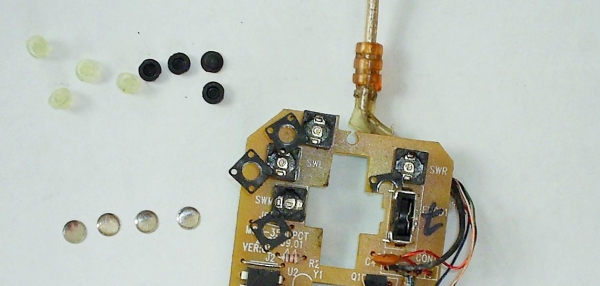
From cleaning with a cotton swab soaked with alcohol good almost will not be, instead, better with pressure rubbing them on a sheet of paper. The contacts inside the housing to Polish the match or toothpick.
After cleaning they looked like.
Build button
A metal plate should be placed convex side-up. When assembling it is advisable not to touch the plates from the contact side, for installation it is better to use non-magnetic tweezers.
Some variations of the clock buttons meet rubber dampers, their location is almost impossible to confuse.
After the installation of shock absorbers and upper parts of the push buttons, you can close the lid and then rivet or glue them.
Repair encoder
I’m sure many users have encountered such a failure, in which during the rotation of the mouse wheel, the page moves jerkily, inadequate response or no. Usually such signs indicate the malfunction of a device called an encoder (angle sensor), which is responsible for this option.
Disassembly of the angle sensor
So it is necessary to disassemble, straighten the metal tabs holding the plastic body of the sensor.
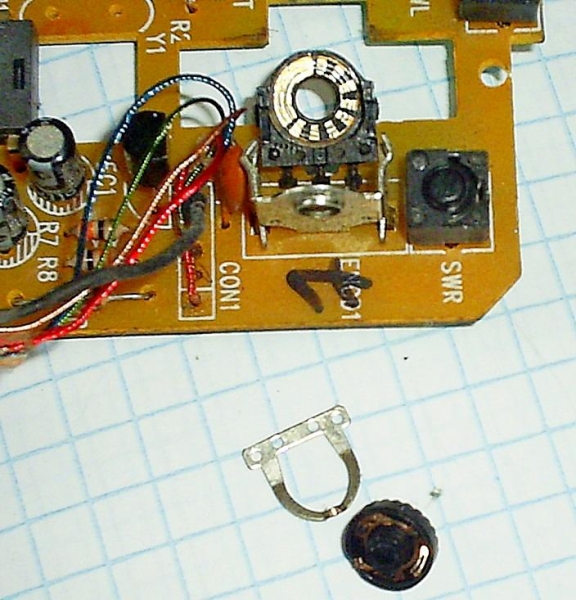
Then, slightly pushing the base of the encoder, you can easily pull out the plate, which is installed to restrict the scroll step by clearly fixing the position of the petals on the contacts. After it and the disc itself with copper petals.
Most often failure is caused by the fact that copper petals, regularly gliding in the same place, over time, wear out the body and the contacts, leaving these indentations. Because particles of plastic, which in this case drag the petals (from the bulk to the contacts), deteriorating the conductivity signals, we have contacts “get dirty”.
Tips on Troubleshooting
First you need to clean the encoder from grease, dirt and oxides. Then the copper petals can be slightly bend (drive contacts).
If the grooves are deep you can move the petals so that they shall not fall on them.
On the contacts during Assembly, it is desirable to apply technical vaseline it will greatly extend the life of the sensor.
Metal tabs of the sensor body does not need much clamping, otherwise the mouse wheel will spin tight.
Such a simple manipulation can be to recover the computer mouse, which are so accustomed to.
Note
The buttons and the encoder, if possible, it is better to replace with new, they will last longer, also save time and nerves.
When assembling the mouse do not forget to clean the optical lens from dust dirt and lint.