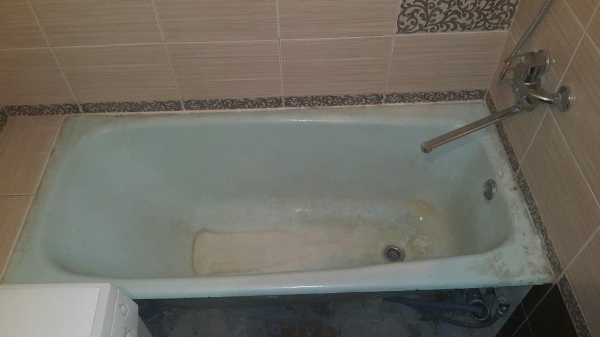
If your tub has lost the original appearance, turned yellow from rust, the enamel was cracking, it cracks and chips — repair it with liquid acrylic. Liquid acrylic — it is durable, wear-resistant material which is poured into a bath, forming a perfectly smooth layer with a thickness of 2-5 mm. All the bumps and scratches disappear, and the bathroom is shining white! Upgrading in this way saves time and money, since you won’t need to suffer with the removal, purchase and installation of new bathtubs.
To restore the old tub you can own for a few hours, just need to carefully follow all recommendations.
Need to work:
- liquid acrylic — 1 set;
- subject to mix material, a wooden bead;
- spatula rubber;
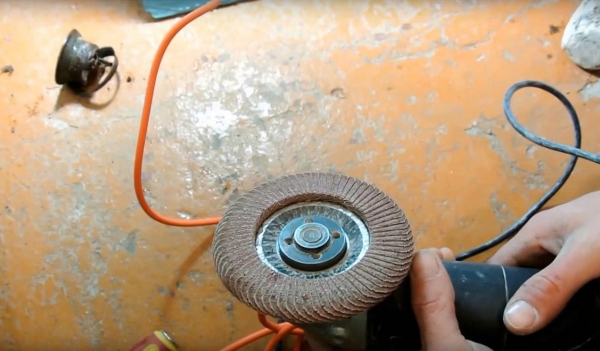
- an angle grinder or drill with grinding attachment;
- half a liter-a liter of acetone;
- mask to protect the face;
- and rags, ukrywa film(paper), a knife, gloves and brush.
Start to work:
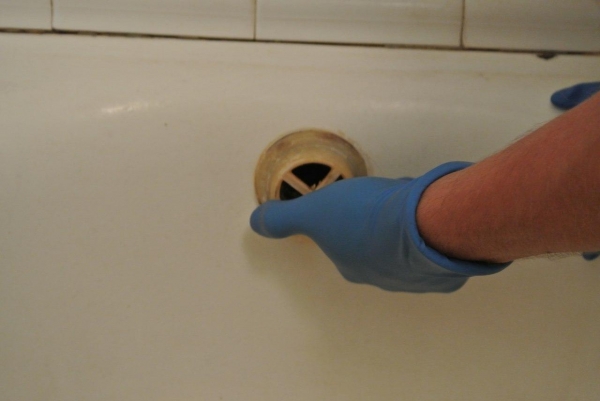
1. Dismantling piping
Remove the harness (it is no longer to be used), new is when the tub will be updated.
2. Surface preparation for loading
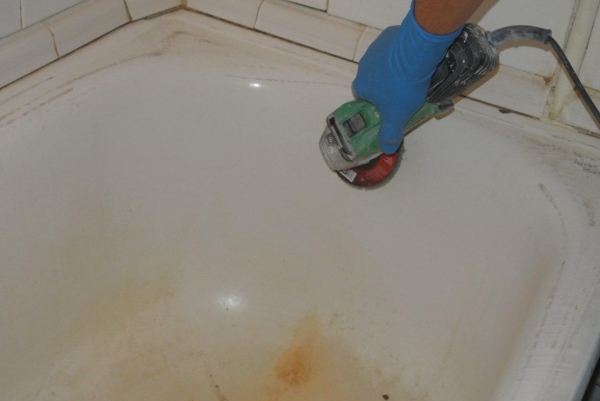
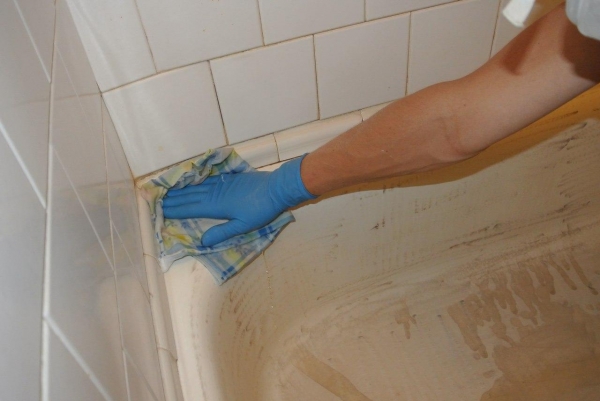
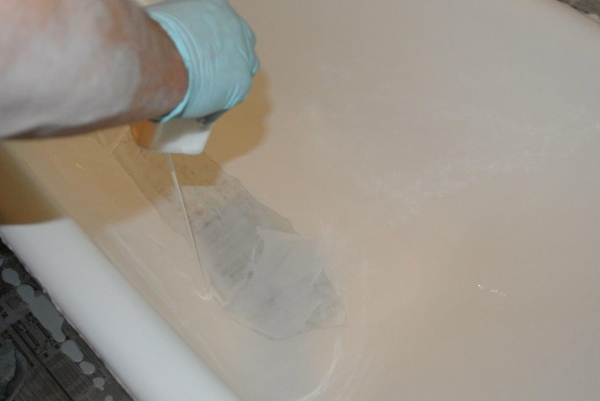
Not to spoil the flooring, overlaid them with unnecessary papers (film). Then you can clean the surface of an old bathtub with drills or grinders, the attachment must be made of emery paper. Choose the grit based on the degree of contamination. When the entire surface is treated, substitute a small tub container and sweep into the drain hole all the dust and debris. Wipe the entire area of the bath with a cloth moistened with acetone (it is desirable that the cloth was not Varelas). This procedure should be repeated 3 times, each time changing the cloth.
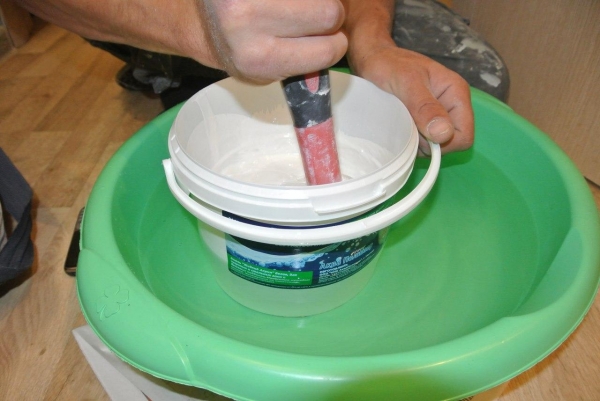
3. Preparation of acrylic liquid
Take the bucket “Foundation” material and mix for 5-7 minutes. Next, slowly pour the hardener while mixing. Now Liquid Acrylic needs to stand for 10 minutes. (pictured work was carried out in winter, so from the street the acrylic warmed in a bowl of warm water)
4. Pouring baths
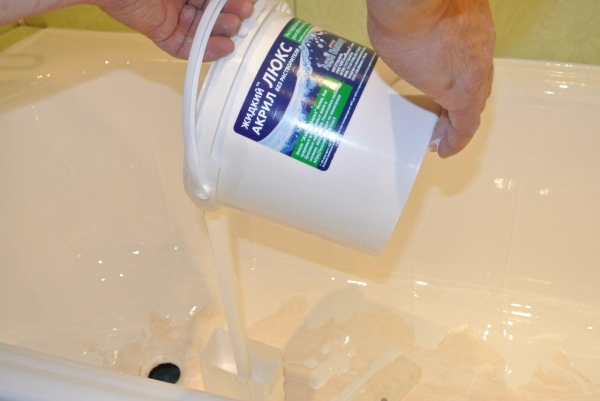
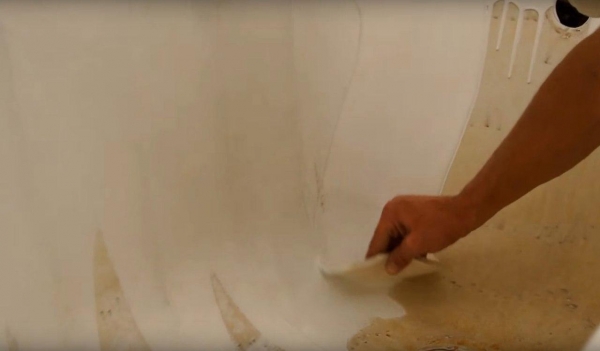

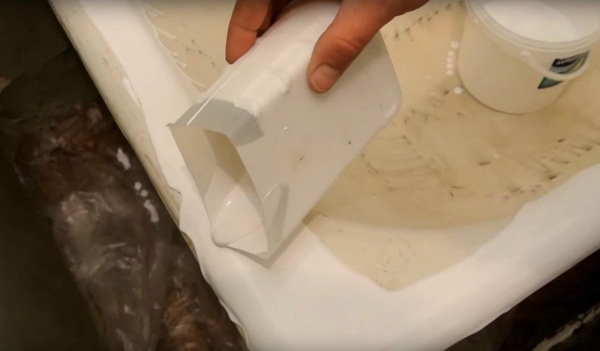
Make the tool to work the bottle, which was a hardening agent, cutting her with a knife. Wipe the tool clean with a rag. To start pour the acrylic can sides. Distribute it on the sides with a spatula. Dark spots can cover up flowing acrylic. You can continue to pour acrylic on the sides of the bath.
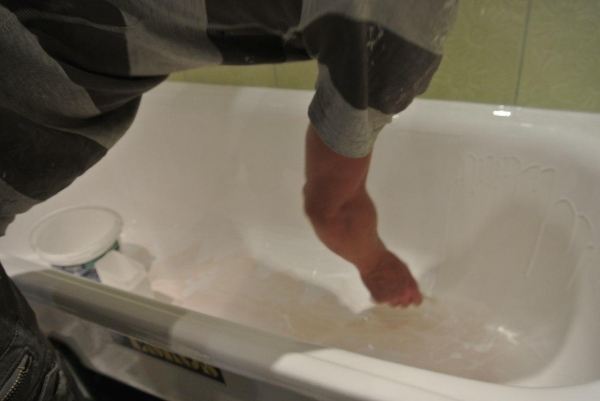
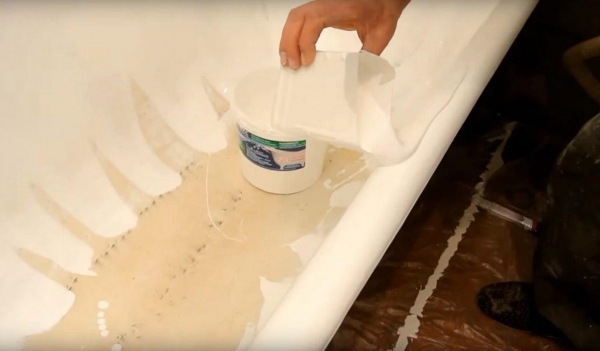
After the entire material will be at the bottom of the bath, “pump wave” acrylic so that it again started to flow down. Make sure the surface is completely flooded and You haven’t missed any of the plot, finish the job. The remnants of the excess acrylic will drain into the sink.
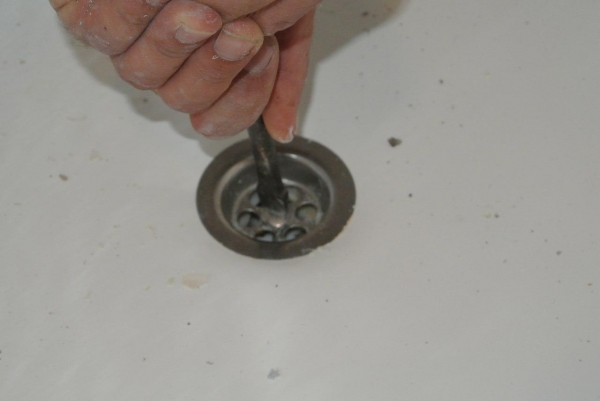
5. The installation of a new siphon
Making sure that the renovated bath is completely dry, put a new siphon.
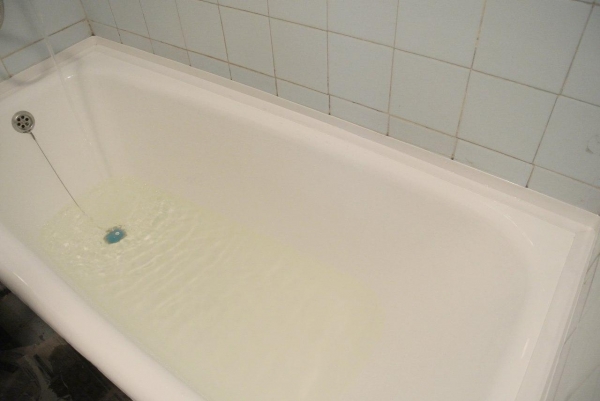
The result, you are wonderful!
Can enjoy the result and enjoy a restored, smooth, perfectly white beautiful bathroom!
Thank you for your attention, you were the master of romance 🙂