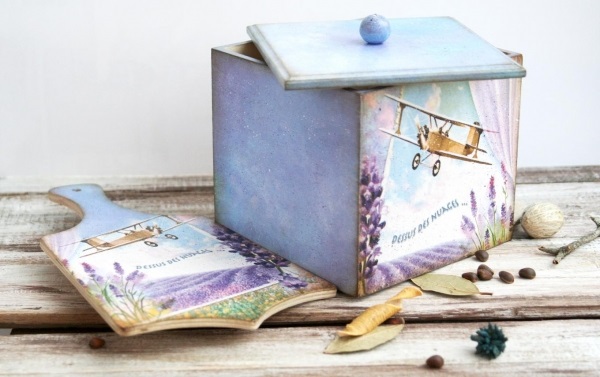
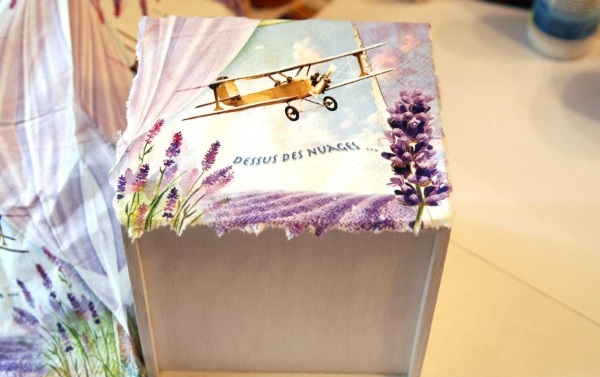
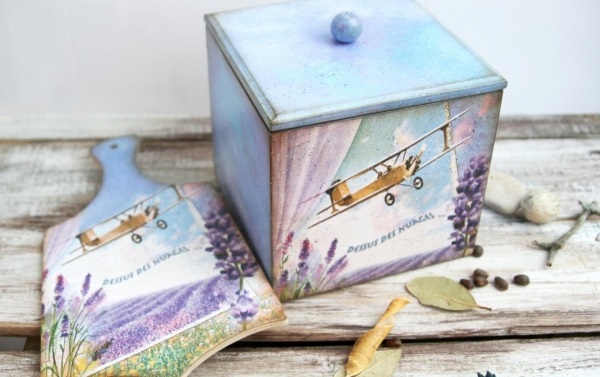
Today I will tell you how to beautifully decorate a set for the kitchen. In this set comes with a box for loose products and a cutting Board. This set will perfectly decorate your kitchen or will be an original gift. In my case, the size of the box — 14×14×14 cm, the Board is 23.5×15 cm.
For dressing we need:
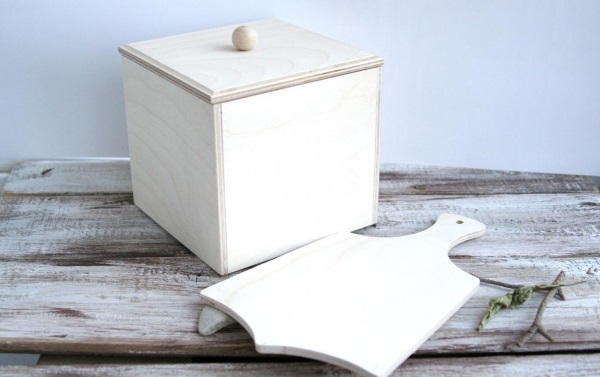
- wooden harvesting boxes and planks;
- primer acrylic;
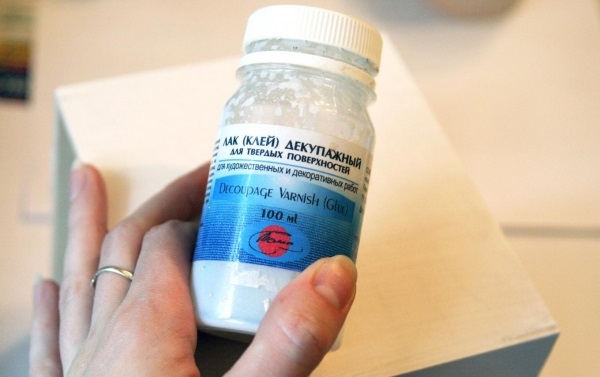
- glue for decoupage;
- paper napkin with your favorite pattern;
- a spray bottle with water;
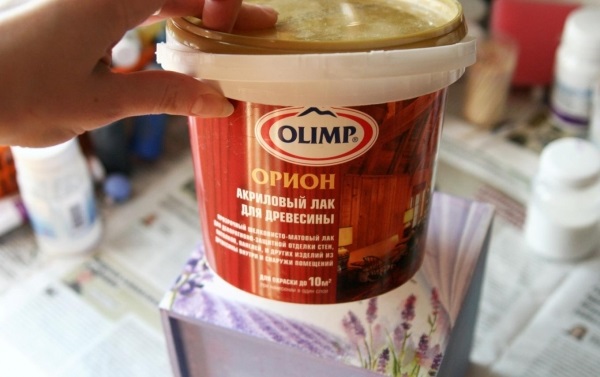
- acrylic lacquer;
- acrylic paint (white, blue, purple);
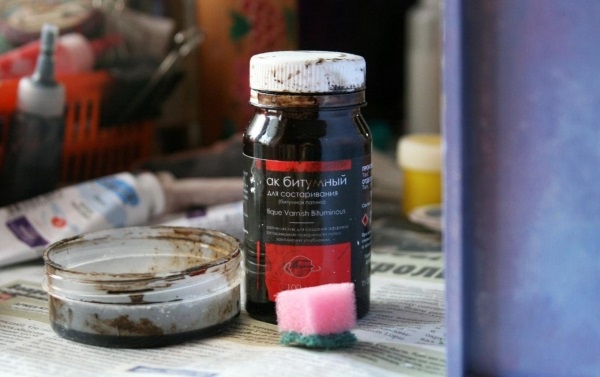
- bitumen varnish;
- sandpaper, paper towels, sponge, dishwashing, brushes, palette, 2 file.
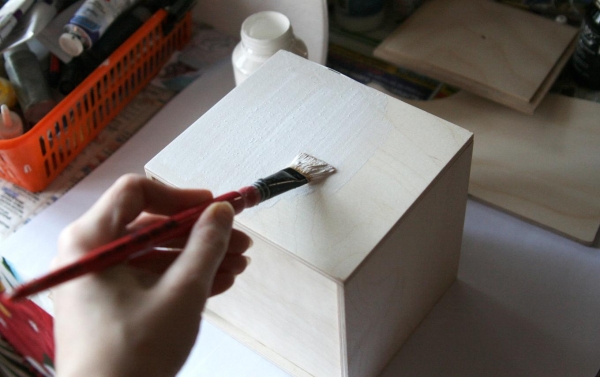
My billet is perfectly polished, so I immediately proceed to the primer. If your preparation is a little rough, you should sand the surface with fine them with sandpaper before primer.
Our billet cover soil, a box with external parties, the cover of the box only from above, dosochki on one side. After drying, hides fine sandpaper to remove lint.
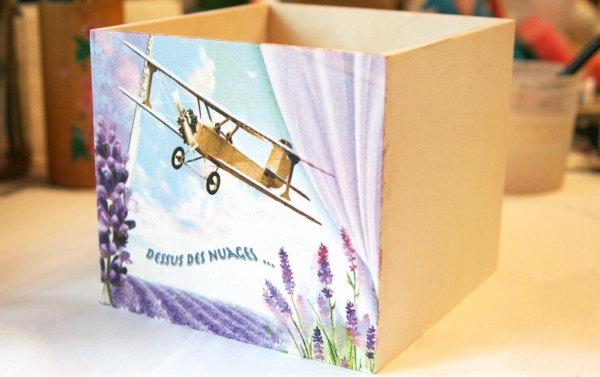
Pick up the napkin with your favorite pattern. I chose cloth in the style of Provence, is the same for boxes and planks, then you can give free rein to their imagination. My napkin will completely cover the carton wall, if you prefer the small picture on the wall, it is necessary first to coat the surface of the background color of your napkins, so that later there was no noticeable difference or then to paint the background in the color of the napkins, how are we going to do with the Board next.


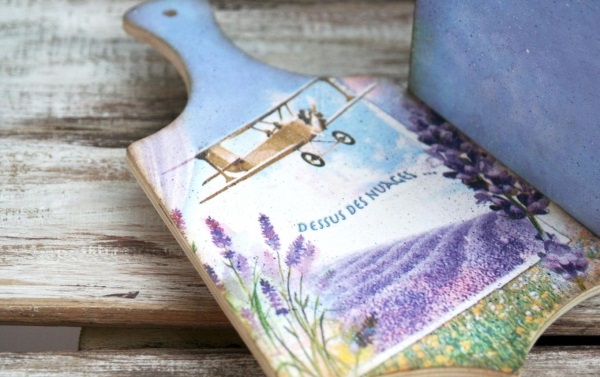
We have chosen the motive, must be extirpated from the rest of the wipes, cut, namely to pull out by hands, so it will be easier to mask the edges of our image. Just make a pattern for the Board.
Take our torn motif, detachable 2 lower paper layer, leaving only a colorful top. Next, we will glue this layer method file.
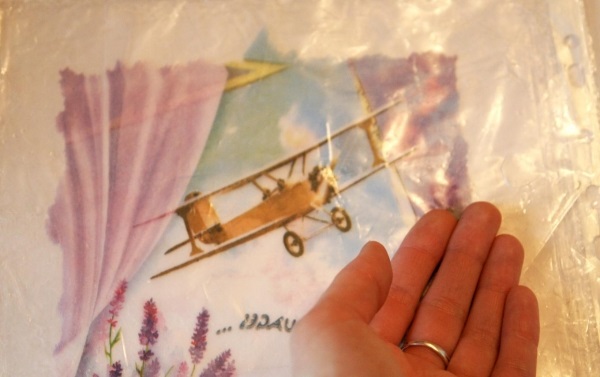
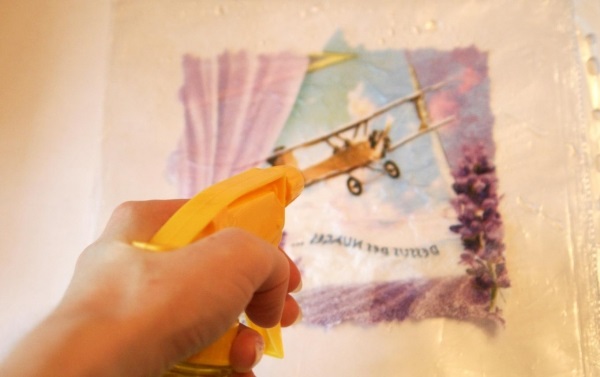
To do this, take the file, put it on our doily face down, gently Squirting some water and notice that the surface bubbles are formed.
To get rid of them, cover on top of the second file hand and gently expel the excess water and smooth out bubbles, working from the center to the edges.
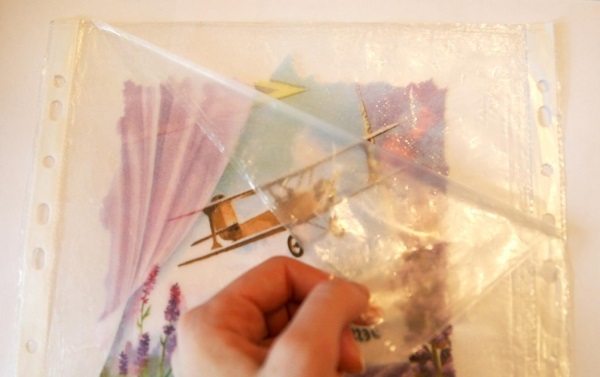
After that, gently remove the top file.
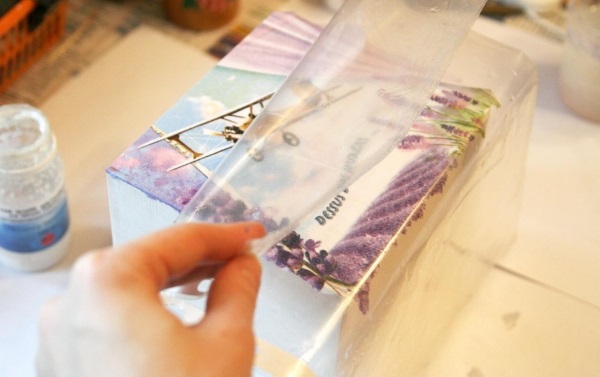
Take the glue for decoupage, in my case, but you do not spend money on special and do a simple PVA. Apply glue to the wood surface.
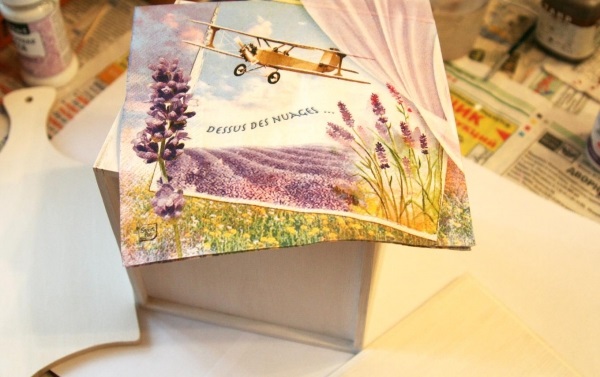
Glue on top of our cloth, iron over the top of the file. Gently remove the file, leaving the napkin on the workpiece.
Get one face decorated, don’t forget to do the same thing with dosochki and the second side of our box. Thoroughly dry a couple of hours, cosmarium all the excess around the edges and start decorating the rest of the faces.
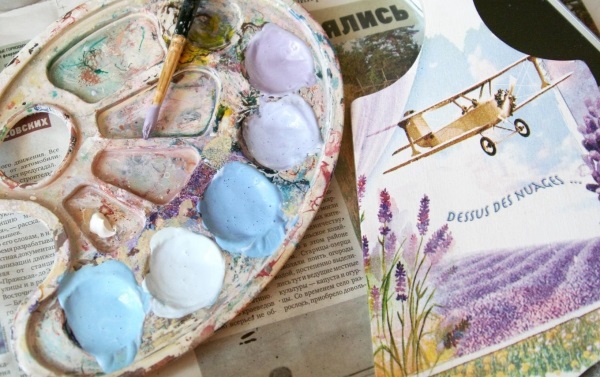
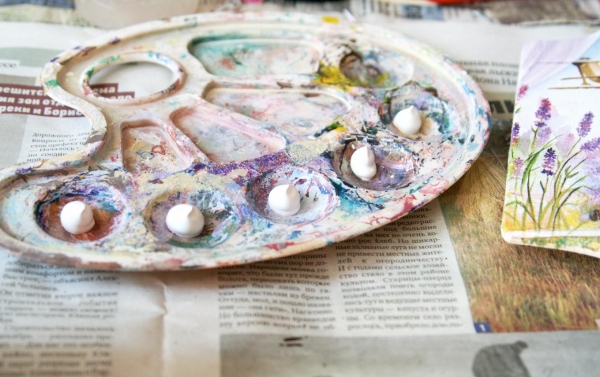
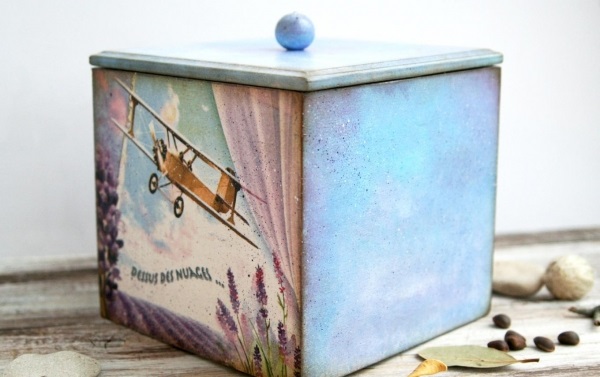
Our face must be the color of the sky on a napkin, with beautiful watercolor transitions from color to color. To achieve this, we need to mix everything at least 5 different, similar in tone colors. To do this, I put a little glob of white paint in the palette and namasivaya I needed color.
Get such soft colors, just the tone of our sky.

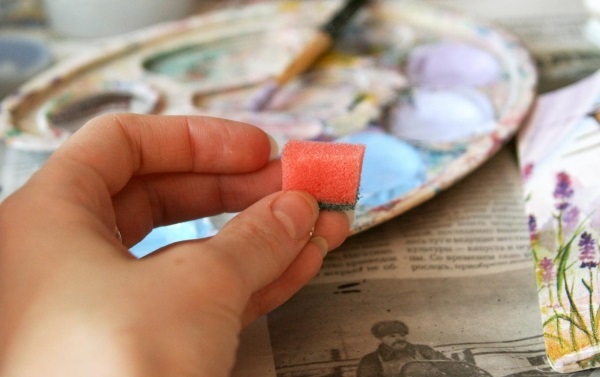
To achieve smooth transitions from color to color, we’ll paint than a brush and a sponge. For this I cut a small piece of sponge for washing dishes.
Our dunk the sponge into the paint and begin like pokusime movements lyapat paint to the surface, changing color paint.
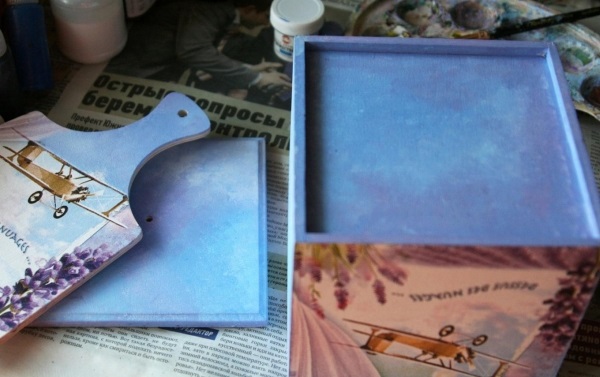
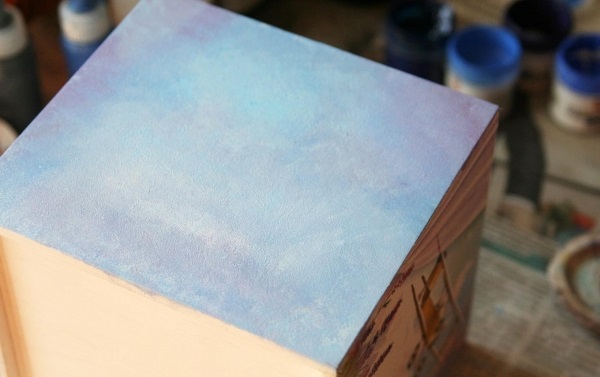
Treated this way the entire face and get this result. While this part of the box dries, proceed to dosochki. As we remember, on the Board we need to quietly paint the top, do it exactly the same way, sponge and spanking motions, going a little on our napkin. By the same token, decorate the cover, the bottom of the box and the rest of the face.
Leave everything to dry at least for a couple of hours. After drying, the work must be finished.
I paint a lot, so bought a large jar of the ordinary acrylic water-based paint for wood, you can buy a nail Polish, both in art and in the construction shop.
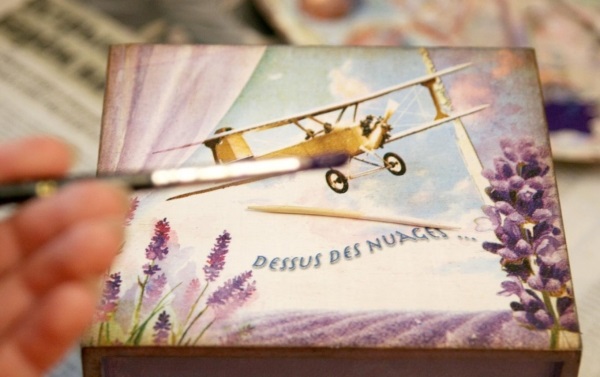
Cover the box outside and dosochki thick layer of varnish. In this step, it is possible to finish, but then we will still give our work the effect of antiquity. If you decide to stay, we need to cover our work with several layers, with intermediate drying.
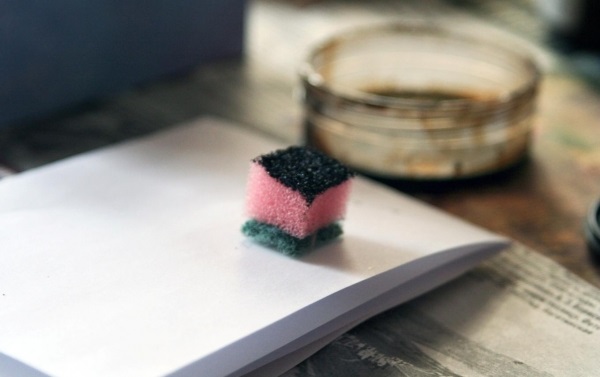
And we for further work will need bitumen varnish, a piece of sponge, small paint tank (which is not a pity to throw), disposable gloves and a sheet of paper.
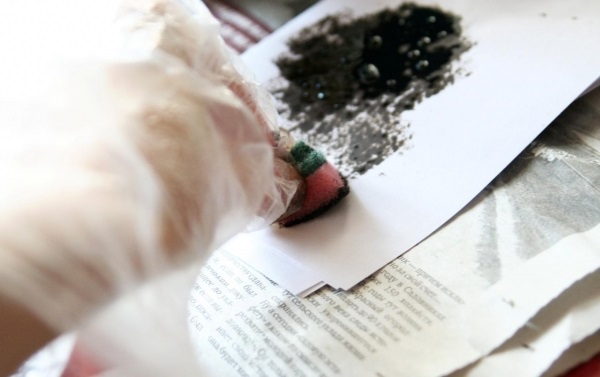
Put on gloves, pour in some lacquer in a jar, dip the sponge into the varnish.
Pokusime movements leave excess paint on folded in four sheet of paper. Do this as long as the print is barely visible.
Take our piece and very light, as if stroking movements from the centre to the edge, begin to process the exposed faces of the box. Bright dark spots should not be, the sponge should be almost dry. The effect of aging should be barely noticeable.
Processed so all the speakers face, the base, cover and dosochki. Allow to dry, preferably overnight.
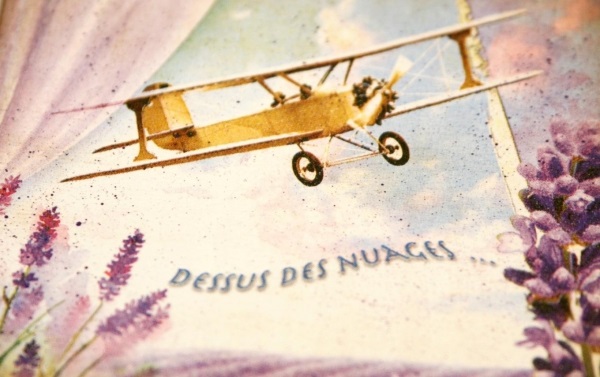
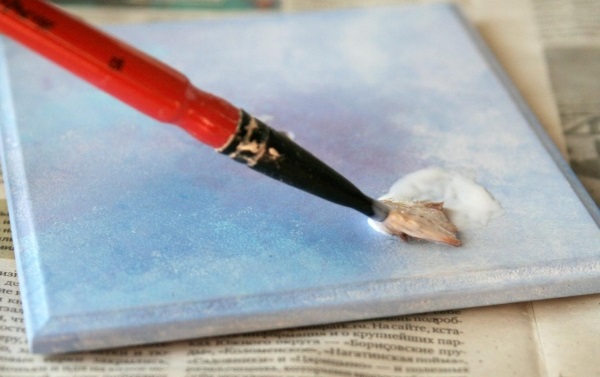
We have one last thing to do is to make the spray paint. To do this, take a brush with stiff bristles and a toothpick. Recruit the paint on the brush, in my case purple and start, like, splashing with a brush on a toothpick. Be careful — the spray flies far and in all directions)
Here we get such a great effect, it gives the work a completeness and at the same time adds a little effect of antiquity. Make a spray of light and dark colors (I have purple and white). The thicker the paint, the smaller the spray. Squirting on all faces of the box, on the bottom cover and the Board. The final stage is the coating of our blanks doubletriple layer of varnish, not forgetting in between the coating, sand the surface with fine fine sandpaper.
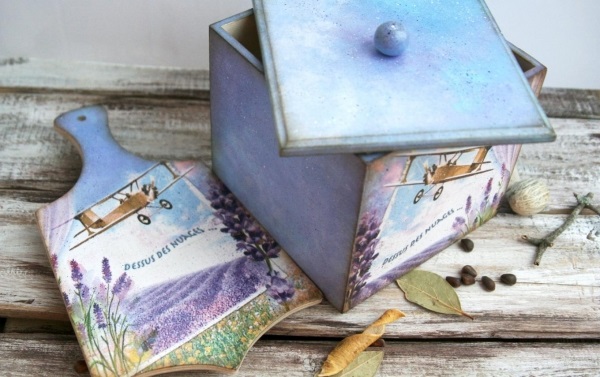
Inside the box is nothing covered, thanks to this it is possible to store any food.
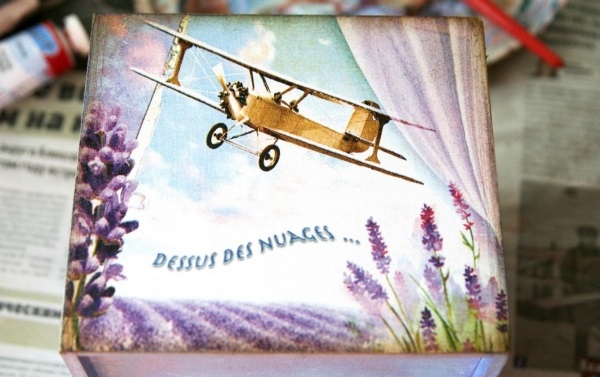
Eventually, we got here such tender and beautiful set for the kitchen!
Thank you for your attention!